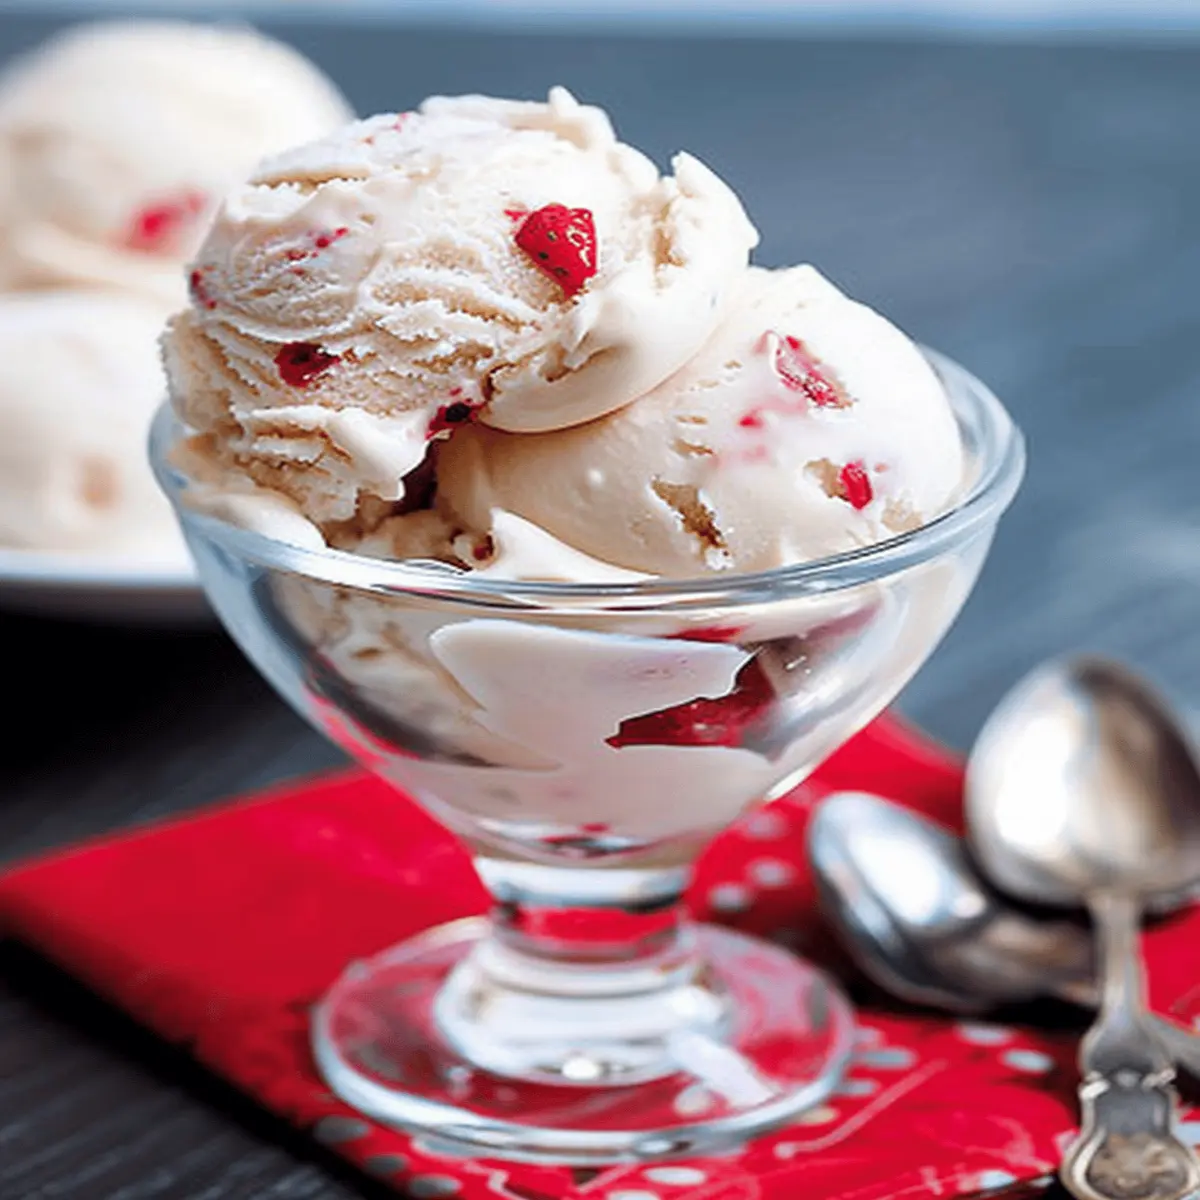
Introduction to Creamy Dairy-Free Ice Cream
Making your own creamy dairy-free ice cream is not just a delicious sweet treat—it’s also a joyful experience that allows you to express your creativity in the kitchen. There’s something utterly fulfilling about crafting a dessert from scratch, especially when it caters to dietary preferences or restrictions. Whether you are lactose intolerant, vegan, or simply looking to reduce your dairy intake, homemade ice cream can be a delightful alternative to traditional options.
The Joy of Homemade Ice Cream
Have you ever had the pleasure of scooping out a fresh pint of ice cream, knowing you made it yourself? The process itself can be both relaxing and rewarding. Plus, you get to experiment with flavors and textures that you might not find in the store. Imagine infusing sweet coconut milk with fresh strawberries or blending a rich cashew base with dark chocolate. The possibilities are nearly endless!
A study by the Dairy Farmers of Canada mentions that dessert can improve one’s mood, and homemade ice cream provides that little boost while allowing you to control the ingredients. You can select natural sweeteners, nutritious add-ins, and flavorings you genuinely love. Concerned about health? Don’t worry. With options like almond milk or coconut cream, your creamy dairy-free ice cream can be just as luscious and satisfying as its dairy-filled counterparts.
Essential Ingredients for a Luscious Texture
When making dairy-free ice cream, key ingredients like:
- Coconut cream for richness
- Cashews for creaminess
- Agar-agar as a thickening agent
can elevate your frozen treat to a whole new level. Using the right combination not only ensures a smooth texture but also brings out the natural flavors brilliantly.
If you’re looking for some tried-and-true recipes or techniques, resources like Minimalist Baker or The Kitchn offer fantastic guidance and inspiration to get started.
Ultimately, making your own creamy dairy-free ice cream is about enjoying the process and indulging in a treat that aligns with your lifestyle. So grab your blender and get ready to dive into the world of homemade delights!
Ingredients for Creamy Dairy-Free Ice Cream
Creating creamy dairy-free ice cream is easier than you might think! Let’s dive into the essential ingredients that will elevate your frozen treat from basic to blissful.
Core Ingredients for a Basic Recipe
To start your ice cream journey, you’ll need a few foundational ingredients:
- Coconut Milk or Almond Milk: These non-dairy alternatives provide the rich texture and creaminess you desire.
- Sweetener: Opt for natural sweeteners like maple syrup or agave nectar. They blend seamlessly and add a depth of flavor.
- Vanilla Extract: A splash of vanilla enhances everything, making your ice cream more aromatic and delightful.
For a healthier twist, check out this guide on choosing plant-based milks, which details various options you can use!
Optional Add-Ins for Extra Flavor
Want to jazz up your creamy dairy-free ice cream? Consider adding:
- Fruits: Fresh or frozen berries can bring a vibrant taste and natural sweetness.
- Nut Butters: Almond or cashew butter adds richness, plus a protein kick.
- Chocolate Chips or Swirls: Dairy-free chocolate chips can make your ice cream decadent.
Feel free to experiment! The beauty of homemade ice cream is that you can tailor flavors to your liking. Happy scooping!
Step-by-step Preparation of Creamy Dairy-Free Ice Cream
Making your very own creamy dairy-free ice cream at home can be not only fun but also surprisingly straightforward. Just a few simple ingredients come together to create a delicious treat that everyone can enjoy, regardless of dietary restrictions. Let’s roll up our sleeves and get started with this step-by-step guide!
Gather all your ingredients
The first step in your ice cream adventure is to collect all the ingredients you’ll need. This will set a solid foundation for your creamy dairy-free treat. Here’s what you should have on hand:
- Base Liquid: Choose your favorite dairy-free milk like almond, coconut, or oat (coconut milk tends to create an extra creamy texture).
- Sweetener: Maple syrup, agave nectar, or even a splash of vanilla to add depth.
- Extra Creaminess: Nut butters like cashew or almond are great options, or you can use a bit of coconut cream if you’re going coconut route.
- Flavoring: Pure extracts (like vanilla or almond) or cocoa powder for chocolatey goodness.
- Mix-ins: Chocolate chips, fruit, or nuts for added texture and flavor.
Now that you’ve got everything lined up, it’s time to move on to the next stage!
Blend the base ingredients
With your ingredients ready, it’s blending time! In a high-speed blender, combine your base liquid, sweetener, and any flavorings you opted for. Blend for about 30 seconds until the mixture is smooth and well-combined.
Pro Tip: For a richer flavor, you might want to heat your base ingredients gently before blending. This can help dissolve the sweetener better and enhance the overall taste. Just make sure it cools down before you move on!
This is also your chance to get creative! Consider experimenting with different flavors — a little bit of peanut butter and banana could lead to an incredible blend.
Chill the mixture
Once everything is blended to perfection, it’s crucial to chill the mixture. This step is often overlooked but can significantly impact your final texture.
Transfer the blended mix into an airtight container and let it sit in the refrigerator for at least 2-3 hours. For optimal results, try chilling overnight. The colder your base is, the creamier your creamy dairy-free ice cream will be when it’s churned.
Churn the ice cream
Once your mixture is nice and cold, it’s churning time! If you have an ice cream maker, follow the manufacturer’s instructions for churning. Pour your chilled mixture into the machine and churn for about 20-30 minutes (or according to your model’s recommendations).
As the magic happens, the mixture will start to expand and thicken. You’ll notice a creamy texture forming, but don’t forget to keep an eye on it! If you’d like to add any mix-ins (like chocolate chips or fruit), toss them in during the last few minutes of churning.
If you don’t have an ice cream maker, you can pour the mixture into a shallow dish and stir every 30 minutes until frozen, which usually takes about 4 hours.
Freeze for the perfect texture
The final step is essential for achieving that perfect ice cream texture. After churning, transfer your creamy mixture into an airtight container and freeze it for at least 4-6 hours or until it’s completely firm.
Tip: Allow the ice cream to sit at room temperature for a few minutes before scooping. This makes it easier to serve and gives it that ultra-creamy feel.
And voilà! You’ve crafted a delicious batch of creamy dairy-free ice cream. Enjoy it on its own or serve it up with your favorite desserts. Want to explore more about ice cream making? Check out The Perfect Scoop for wonderful tips on similar recipes. Happy scooping!
Variations on Creamy Dairy-Free Ice Cream
Creating creamy dairy-free ice cream opens up an exciting world of flavors and combinations. Let’s dive into some delightful variations that are perfect for impressing friends or enjoying a cozy night in.
Chocolate Delight
Who can resist chocolate? For a rich, luscious twist, try incorporating cacao powder or melted dairy-free chocolate into your base. You can enhance the experience by adding:
- A pinch of espresso powder to intensify the chocolate flavor.
- Swirls of dairy-free fudge or chocolate sauce for extra indulgence.
This version is a fan favorite and packed with antioxidants, making it a guilt-free treat!
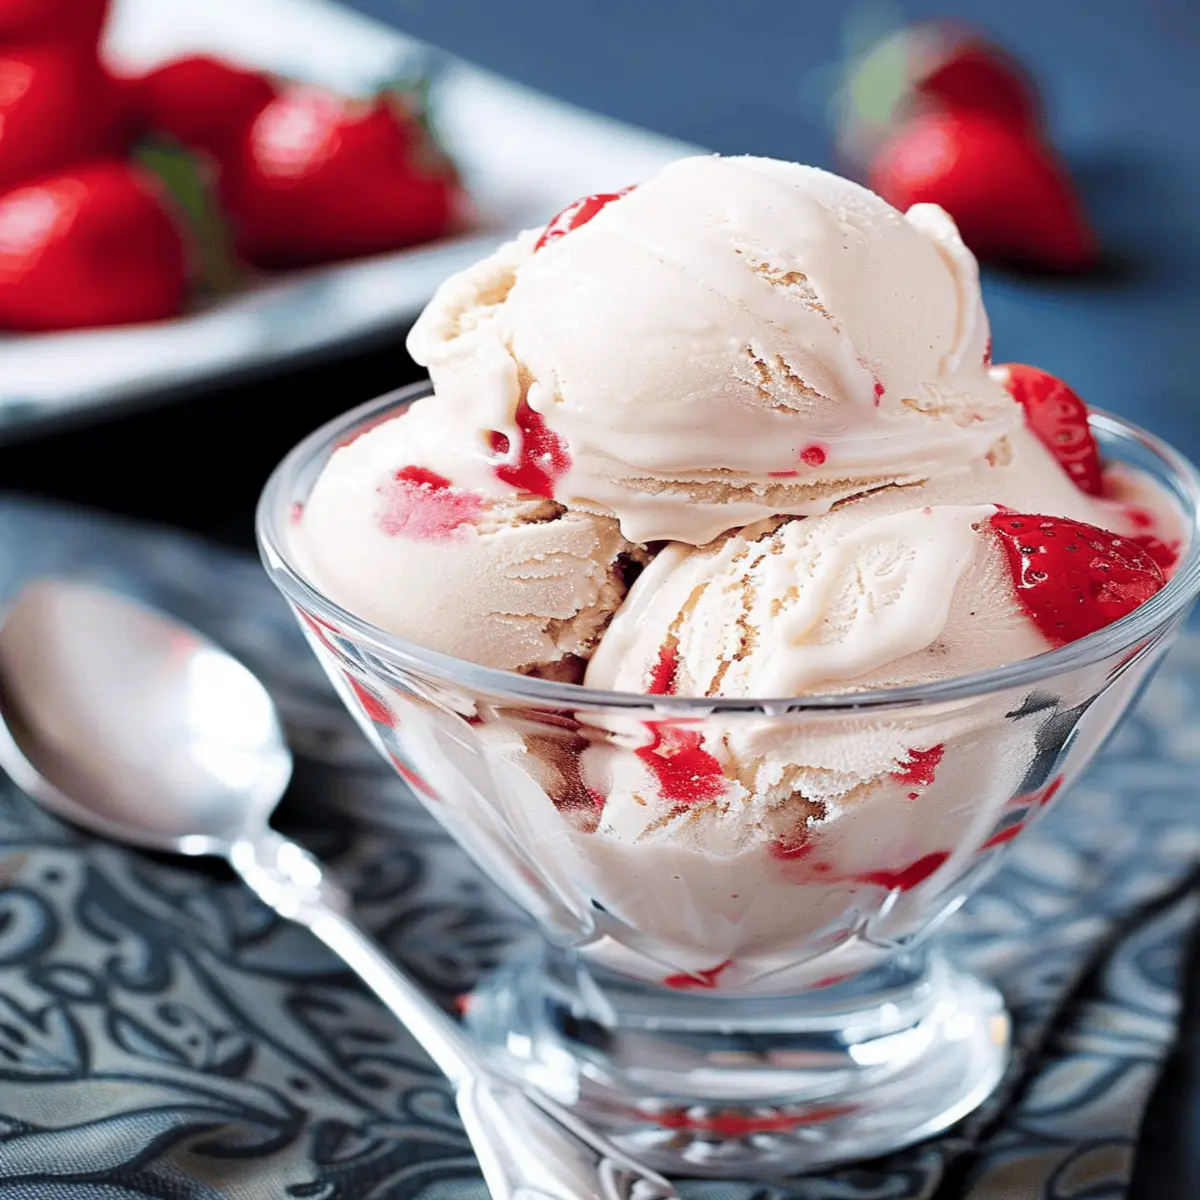
Fruity Fusion
If you’re in the mood for something refreshing, a fruity fusion might just be your go-to. Consider blending in pureed fruits like:
- Ripe bananas for creaminess
- Strawberries or mangoes for a refreshing taste
Try adding some zest from citrus fruits or a splash of vanilla extract. This combination not only tastes fantastic but also offers the added benefits of vitamins and minerals. Check out sources like Healthline for the health benefits of these fruits!
Nutty Indulgence
For those who love a nutty flavor, consider almond or cashew bases for your creamy dairy-free ice cream. You could add:
- Chopped nuts for crunch
- A swirl of almond butter or peanut butter for richness
Not only do these nuts crave your taste buds, but they also pack protein and healthy fats, making them a smart choice for a treat.
Experiment with these variations to find your favorite! The beauty of making creamy dairy-free ice cream is that you can customize it to your heart’s content, creating something uniquely yours.
Cooking Tips and Notes for Creamy Dairy-Free Ice Cream
Achieving the Right Consistency
To create that luxurious texture in your creamy dairy-free ice cream, focus on using a good base. Coconut milk or cashew cream are solid choices since they provide a rich mouthfeel. Incorporating a stabilizer, like arrowroot or cornstarch, can also help with the creaminess. Remember that the freeze time is crucial; you might want to churn the mixture before it fully freezes for a smoother result.
Tips for Incorporating Mix-Ins
Mix-ins can elevate your creamy dairy-free ice cream to the next level. Here are a few handy tips:
- Timing is Everything: Add those choco chips or cookies in the last few minutes of churning to ensure they’re evenly distributed without getting too hard.
- Pre-Freezing: If you’re using fruits or nuts, consider freezing them slightly beforehand to prevent them from becoming mushy.
- Experiment: Don’t hesitate to try out unique flavors like matcha or lavender!
You can find some interesting mix-in ideas in this article on vegan ice cream creativity. Trust me, your creamy dairy-free ice cream will thank you!
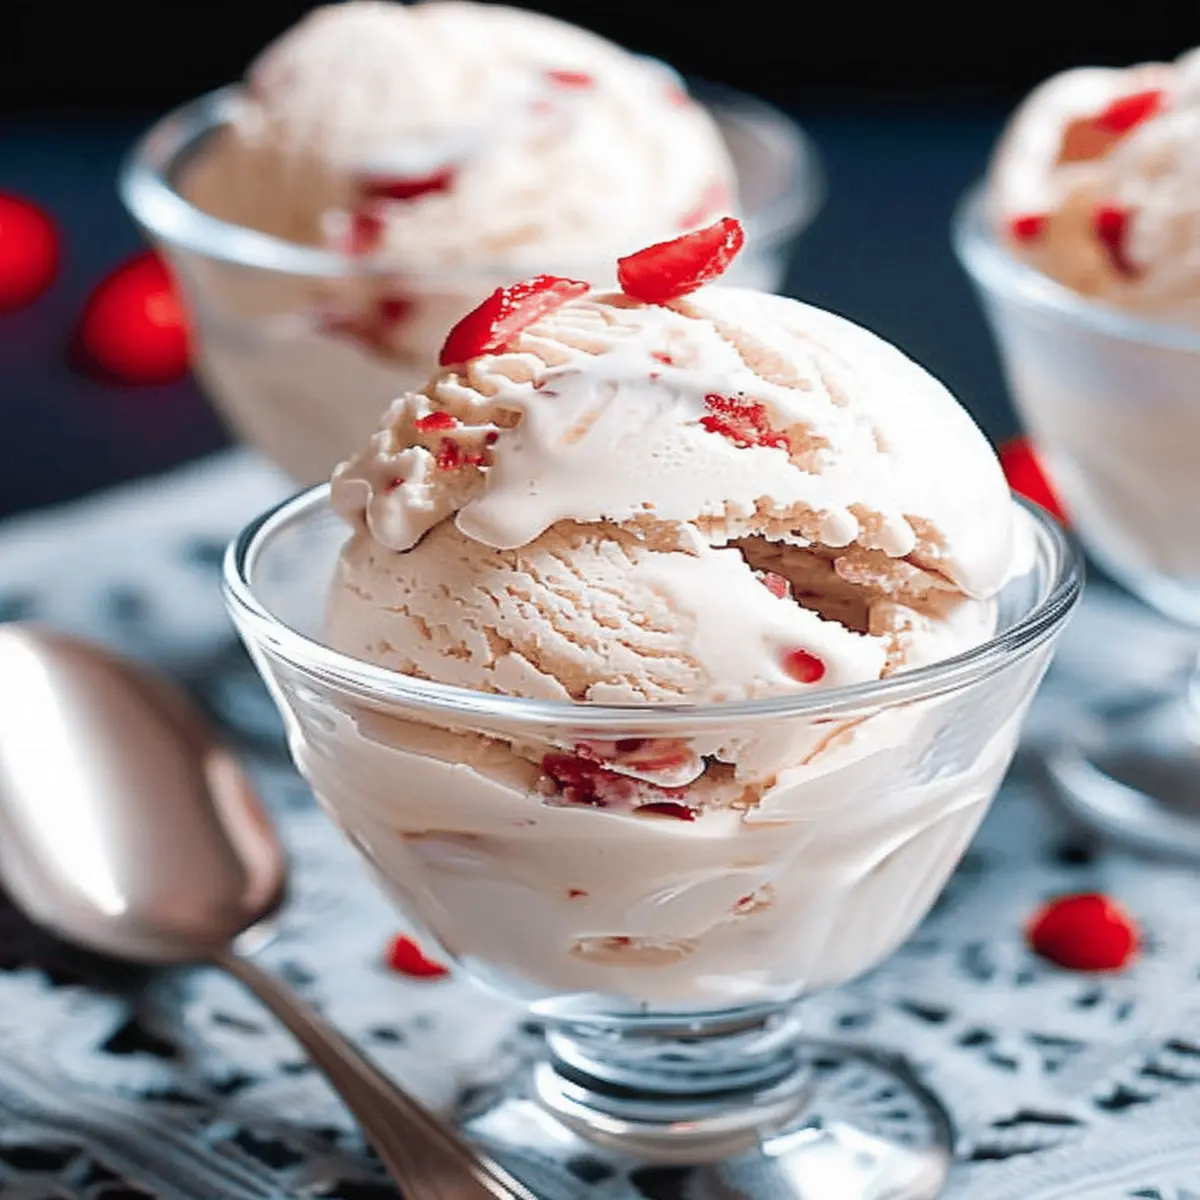
Serving Suggestions for Creamy Dairy-Free Ice Cream
Ideal Pairings for Hot Days
Looking to cool off? Enjoying your creamy dairy-free ice cream on a hot day can be a transformative experience. Pair it with fresh summer fruits like strawberries or peaches for a refreshing twist. Maybe a scoop atop a slice of warm, gooey brownies would be your sweet spot instead? You could even create a delightful ice cream sandwich with almond cookies or gluten-free options for those with dietary restrictions.
Craving something a bit different? Consider drizzling your ice cream with a homemade fruit compote or citrus-infused syrup. According to the American Heart Association, incorporating fruit can boost your intake of vitamins, making it a win-win!
Creative Toppings and Garnishes
When it comes to toppings, the sky’s the limit! Think crunchy granola, toasted coconut flakes, or a sprinkling of cinnamon to add texture and flavor to your creamy dairy-free ice cream.
Adding nut butter or maple syrup can elevate the experience, while a handful of mixed nuts introduces satisfying crunch. For a more sophisticated touch, why not swirl in some vegan caramel or chocolate sauce? You could also explore options like crushed cookies or dairy-free chocolate chips for a bit of nostalgia.
Experimenting with various toppings can turn your ice cream bowl into a personalized masterpiece! What’s your go-to topping?
Time Breakdown for Creamy Dairy-Free Ice Cream
Preparation Time
Creating your own creamy dairy-free ice cream is easier than you might think! You’ll need about 15-20 minutes for preparation. This step involves gathering your ingredients, blending them to achieve the perfect consistency, and adding any fun mix-ins you desire.
Chilling and Churning Time
Once your mixture is ready, allow it to chill in the refrigerator for about 1-2 hours. This not only enhances the flavors but also helps achieve that delightful creaminess when churning. After chilling, you’ll spend another 20-30 minutes churning it in your ice cream maker. If you don’t have one, you can still make it work with some old-school methods. Just give it a good stir every 30 minutes until it firms up!
Total Time
In total, you’re looking at around 1.5 to 3 hours from start to finish. While it might feel like a bit of a commitment, the taste of your homemade creamy dairy-free ice cream will be well worth the wait. For gelato fans, check out this insightful guide on improving texture that might inspire your next batch!
So, are you ready to dive into this delicious journey? Your taste buds are in for a treat!
Nutritional Facts for Creamy Dairy-Free Ice Cream
When you indulge in creamy dairy-free ice cream, you’re not just treating yourself—you’re also making a choice that offers some notable benefits!
Caloric Breakdown
Generally, a serving contains around 150-200 calories. This varies depending on the ingredients, particularly the type of non-dairy milk used. For instance:
- Coconut Milk: about 200 calories per serving
- Almond Milk: around 150 calories per serving
Using natural sweeteners can also impact the total caloric content, making it a customizable treat.
Key Nutritional Benefits
Not only is creamy dairy-free ice cream delicious, but it also comes with some nutritional perks:
- Lactose-Free: Perfect for those with lactose intolerance.
- Healthy Fats: Many recipes use coconut or nut-based milks, which provide beneficial fats.
- Lower in Sugar: Opting for natural sweeteners can lead to less sugar intake compared to traditional ice creams.
For more insight into the nutritional aspects of dairy-free options, check out studies from credible sources like Harvard’s Nutrition Source or the USDA FoodData Central.
In short, treating yourself to a scoop (or two) of creamy dairy-free ice cream can be both satisfying and nourishing!
FAQs about Creamy Dairy-Free Ice Cream
Can I make this ice cream without an ice cream maker?
Absolutely! You don’t need fancy equipment to whip up your own creamy dairy-free ice cream. If you’re without an ice cream maker, you can use a simple mixing method. Combine your ingredients in a bowl, mix until smooth, and then pour the mixture into a freezer-safe container. Every 30 minutes, stir it well with a fork for about 2-3 hours to break up ice crystals and maintain that creamy texture. It’s a labor of love, but totally worth it!
What are the best dairy-free milk alternatives?
When it comes to crafting a creamy dairy-free ice cream, your choice of milk alternative can really make a difference. Here are a few popular options:
- Coconut Milk: Rich and creamy, often results in the most indulgent texture.
- Almond Milk: A lighter choice—great for a subtle flavor, but may not be as creamy.
- Cashew Milk: Known for its creamy consistency and a hint of nuttiness, perfect for ice cream.
- Oat Milk: Offers a great balance of creaminess and sweetness without being overpowering.
For more insights on dairy-free options, check out Healthline’s guide.
How can I store homemade dairy-free ice cream?
Storing your creamy dairy-free ice cream properly helps retain its flavor and texture. After it’s set, transfer your ice cream to an airtight container. To prevent ice crystals from forming, press a piece of parchment paper against the surface before sealing it. Store it in the coldest part of your freezer for up to two weeks. Just remember to let it sit at room temperature for a few minutes before scooping, so you can enjoy every delicious bite!
Feel free to explore these tips and enjoy the smooth, creamy goodness of your own homemade ice cream!
Conclusion on Creamy Dairy-Free Ice Cream
Creating your own creamy dairy-free ice cream at home is a joyous experience that blends creativity with delicious results. Not only do you get to customize flavors to suit your taste, but making ice cream is also a delightful activity to share with friends or family. Did you know that homemade ice cream can be more nutritious than store-bought options? You control the ingredients, allowing for healthier choices without sacrificing flavor. So, gather your favorite dairy alternatives and toppings, and dive into the wonderful world of homemade frozen treats. For inspiration, check out resources like The Dairy Free Ice Cream Blog for even more creative ideas!
PrintCreamy Dairy-Free Ice Cream that Will Delight Your Tastebuds
Indulge in our creamy dairy-free ice cream that satisfies your sweet tooth without the guilt. This delightful treat is made with wholesome ingredients and is perfect for everyone!
- Prep Time: 10 minutes
- Cook Time: 0 minutes
- Total Time: 4 hours 10 minutes
- Yield: 4 servings 1x
- Category: Dessert
- Method: Churned
- Cuisine: Vegan
- Diet: Dairy-Free
Ingredients
- 2 cups coconut milk
- 1 cup almond milk
- 1/2 cup maple syrup
- 1 tablespoon vanilla extract
- 1/4 cup cocoa powder
Instructions
- In a mixing bowl, whisk together the coconut milk, almond milk, maple syrup, vanilla extract, and cocoa powder until well combined.
- Pour the mixture into an ice cream maker and churn according to the manufacturer’s instructions, typically for about 20-25 minutes.
- Transfer the ice cream to an airtight container and freeze for at least 4 hours to firm up.
- Serve and enjoy your creamy dairy-free ice cream!
Notes
- For added sweetness, adjust the maple syrup to your liking.
- You can add mix-ins like nuts or dairy-free chocolate chips during the churning process.
Nutrition
- Serving Size: 1/2 cup
- Calories: 200
- Sugar: 15g
- Sodium: 50mg
- Fat: 10g
- Saturated Fat: 8g
- Unsaturated Fat: 2g
- Trans Fat: 0g
- Carbohydrates: 25g
- Fiber: 2g
- Protein: 3g
- Cholesterol: 0mg
Keywords: Creamy Dairy-Free Ice Cream, dairy-free dessert, vegan ice cream