Introduction to Mini Cannoli Cups
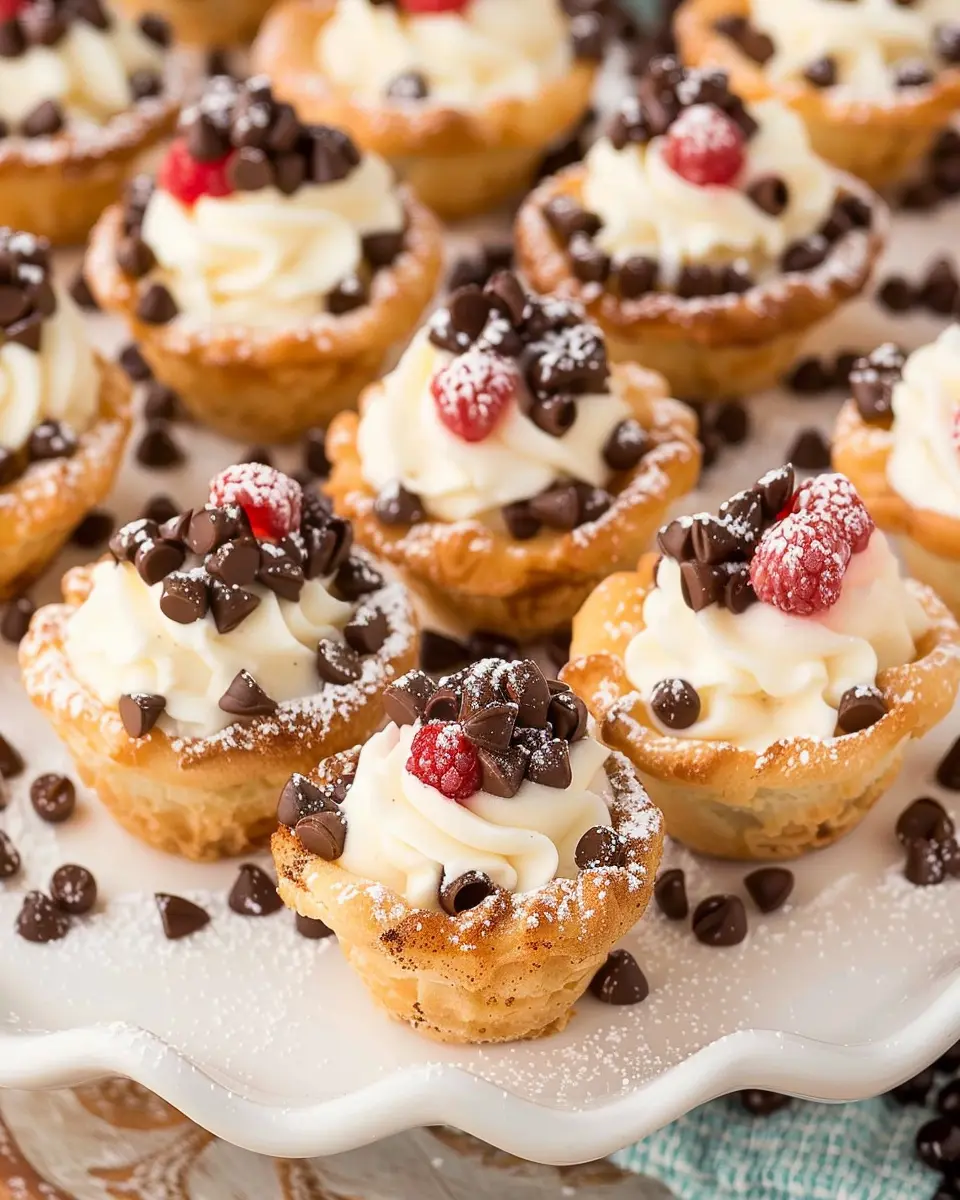
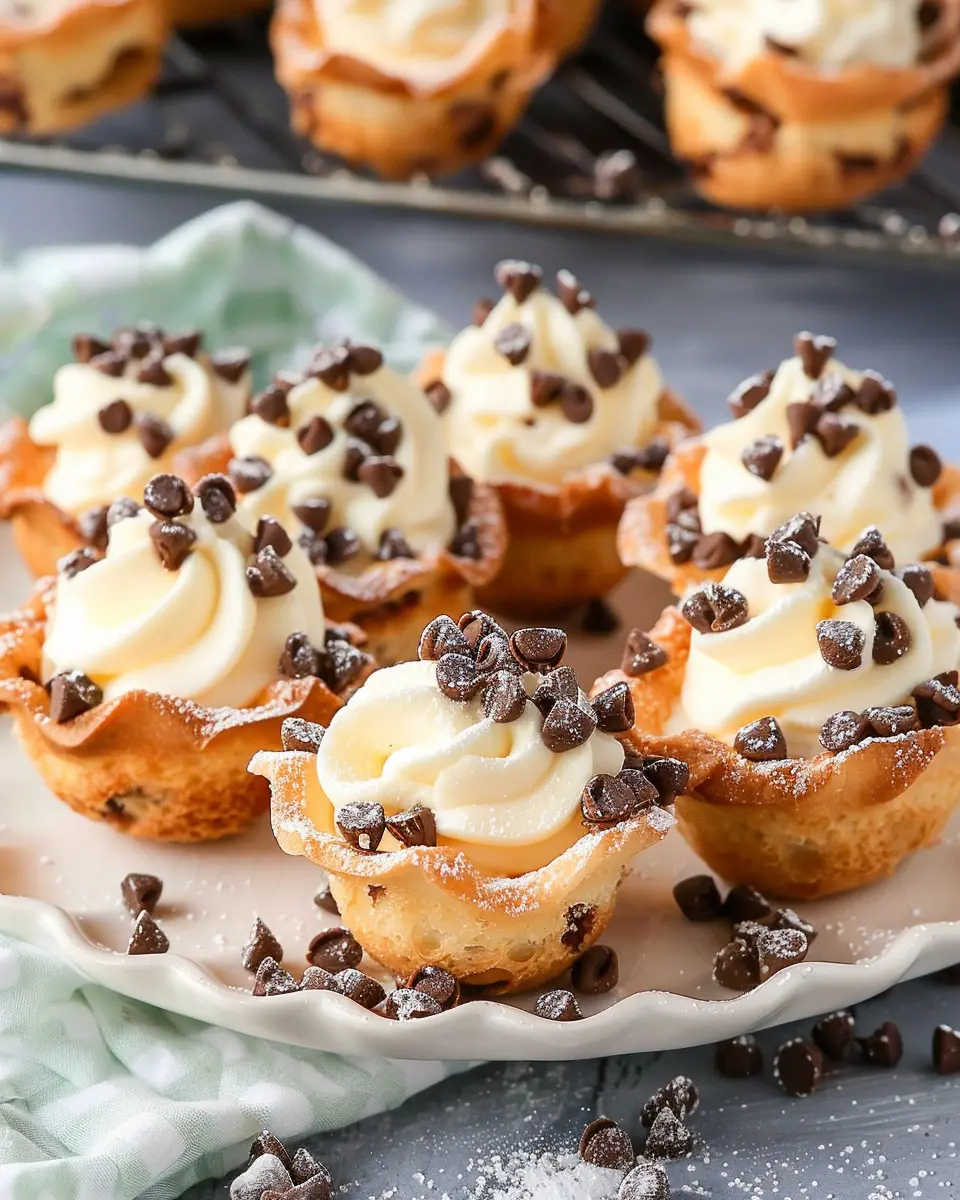
If you’re on the hunt for a sweet treat that’s both delightful and easy to make, look no further than mini cannoli cups. These charming little desserts perfectly combine the classic Italian flavor of cannoli with the convenience of a handheld bite-sized treat. Essentially, mini cannoli cups are crispy, pastry shells filled with a rich, creamy ricotta and chocolate chip filling, all presented in an adorable cup shape. Talk about a win-win!
One of the best things about mini cannoli cups is how versatile they are. Whether you’re hosting a lively gathering, celebrating a birthday, or just looking to indulge yourself after a long week, these cups can elevate any occasion. You can easily customize the filling by adding your favorite flavors or toppings, such as crushed pistachios, fresh fruits, or even a hint of orange zest. Not only does this make for a delicious treat, but it also offers a unique twist on a traditional dessert that will impress your friends and family alike.
Plus, from a time-saving perspective, mini cannoli cups are a real game-changer. Unlike traditional cannoli, which require you to painstakingly fill each shell, mini cups are super easy to assemble. With just a few basic steps, you can whip up a batch in less than an hour! And if you’re a busy professional seeking sweet solace after work, this treat is perfect for indulging your sweet tooth without spending your entire evening in the kitchen.
If you’re wondering why you should add mini cannoli cups to your baking repertoire, consider this: desserts like these not only tantalize your taste buds but also spark joy and connection during shared moments with loved ones. Honestly, what’s better than a delicious, homemade dessert shared among friends? For more detailed recipes and tips on how to make these scrumptious treats, check out Food Network’s exploration of classic Italian desserts to get inspired! Whether you choose to stick with the classic recipe or add a personal twist, mini cannoli cups are bound to become a favorite in your homemade treat collection.
Ingredients for Mini Cannoli Cups
Creating delightful mini cannoli cups is all about using the right ingredients. Let’s dive into what you’ll need to whip up these tasty treats!
Filling Ingredients
For the creamy filling that makes these mini cannoli cups irresistible, gather:
- 1 cup ricotta cheese (drained)
- 1/2 cup powdered sugar
- 1 teaspoon vanilla extract
- 1/4 cup mini chocolate chips
- Optional: 1/4 teaspoon cinnamon for a warm twist
This filling is the heart of your mini cannoli cups. Using high-quality ricotta really makes a difference!
Cannoli Cup Ingredients
Now, let’s talk about the crispy shells that hold the filling:
- 1 package of pre-made phyllo dough cups (or you can make your own)
- 2 tablespoons melted butter
- A sprinkle of sugar for a touch of sweetness
Using phyllo dough is a fantastic shortcut, saving you time while still delivering that crunchy texture.
Garnish Ingredients
To elevate your mini cannoli cups, don’t skip the garnishes:
- 1/4 cup chopped pistachios or almonds
- Additional mini chocolate chips for topping
- A dusting of powdered sugar for presentation
These small details can really transform your mini cannoli cups into a show-stopping dessert!
For more tips on ingredient quality and dessert preparation, check out reliable sources like The Kitchn and Serious Eats. It’s all about making those flavors pop!
Preparing Mini Cannoli Cups
Making mini cannoli cups is as much about the fun of preparing them as it is about enjoying the delightful treat at the end. These bite-sized versions of the classic Italian dessert offer a crispy crust filled with a sweet, creamy filling—perfect for gatherings or just a treat for yourself! Let’s take this step by step.
Preheat the oven and prepare the pie crusts
Start your mini cannoli cups adventure by preheating your oven to 375°F (190°C). While it heats, grab your favorite pre-made pie crusts. You can find them at your local grocery store or make your own if you’re up for a challenge! If you’re using store-bought, simply roll out the dough on a lightly floured surface to make it easier to cut out the rounds.
Cut out pastry rounds
Next, it’s time to cut out your pastry rounds. Using a round cookie cutter or the rim of a glass, cut out circles about 3 inches in diameter. You should aim for approximately 12 to 16 rounds, depending on how thick your dough is.
Tips for cutting:
- If dough sticks to the cutter, lightly flour the edges or dip the cutter in flour to make removing the rounds easier.
- Re-roll the scraps to get as many rounds as possible—no waste here!
Bake the crusts until golden brown
Once you’ve got your rounds cut out, it’s time for them to take the plunge into the oven. Gently press each round into the cups of a mini muffin tin, ensuring the dough fits snugly into the molds.
Bake for about 10 to 12 minutes, or until they are golden brown. Trust me, the smell wafting from your oven will be irresistible! Keep an eye on them because you want that lovely color without burning.
Prepare the filling mixture
While the crusts cool, let’s get to the star of the show—the filling! In a medium bowl, combine:
- 15 ounces of ricotta cheese (drained for the best texture)
- 1 cup of powdered sugar
- 1 teaspoon of vanilla extract
- Optional: a pinch of cinnamon for added warmth
Mix until smooth and creamy. If you have a pastry bag on hand, this is the perfect time to use it, as piping the filling can make for a neat and elegant presentation. You can even add some mini chocolate chips or finely chopped pistachios for extra flavor and texture.
Pipe the filling into the cooled cups
With your filling ready, grab that pastry bag (or a zipper bag with a corner trimmed off) and fill each cooled pie crust cup generously. Don’t be shy! These mini cannoli cups should be overflowing with deliciousness, giving them an appealing look and making every bite satisfying.
Add garnishes and serve
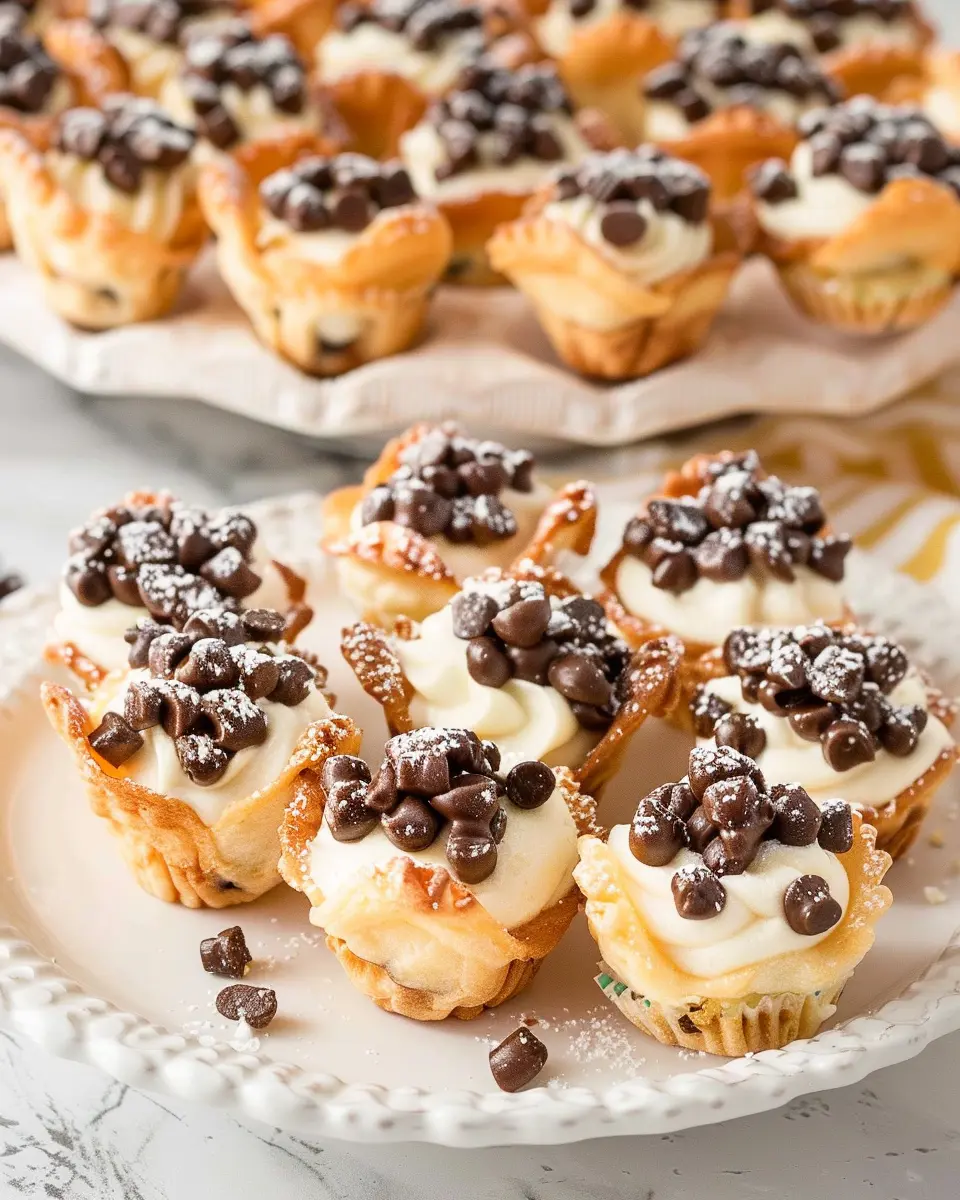
Before serving, let’s add a little flair! Dust the tops of your mini cannoli cups with a light sprinkling of powdered sugar. For an added touch, you can garnish with a mini chocolate chip on top, or some finely chopped nuts.
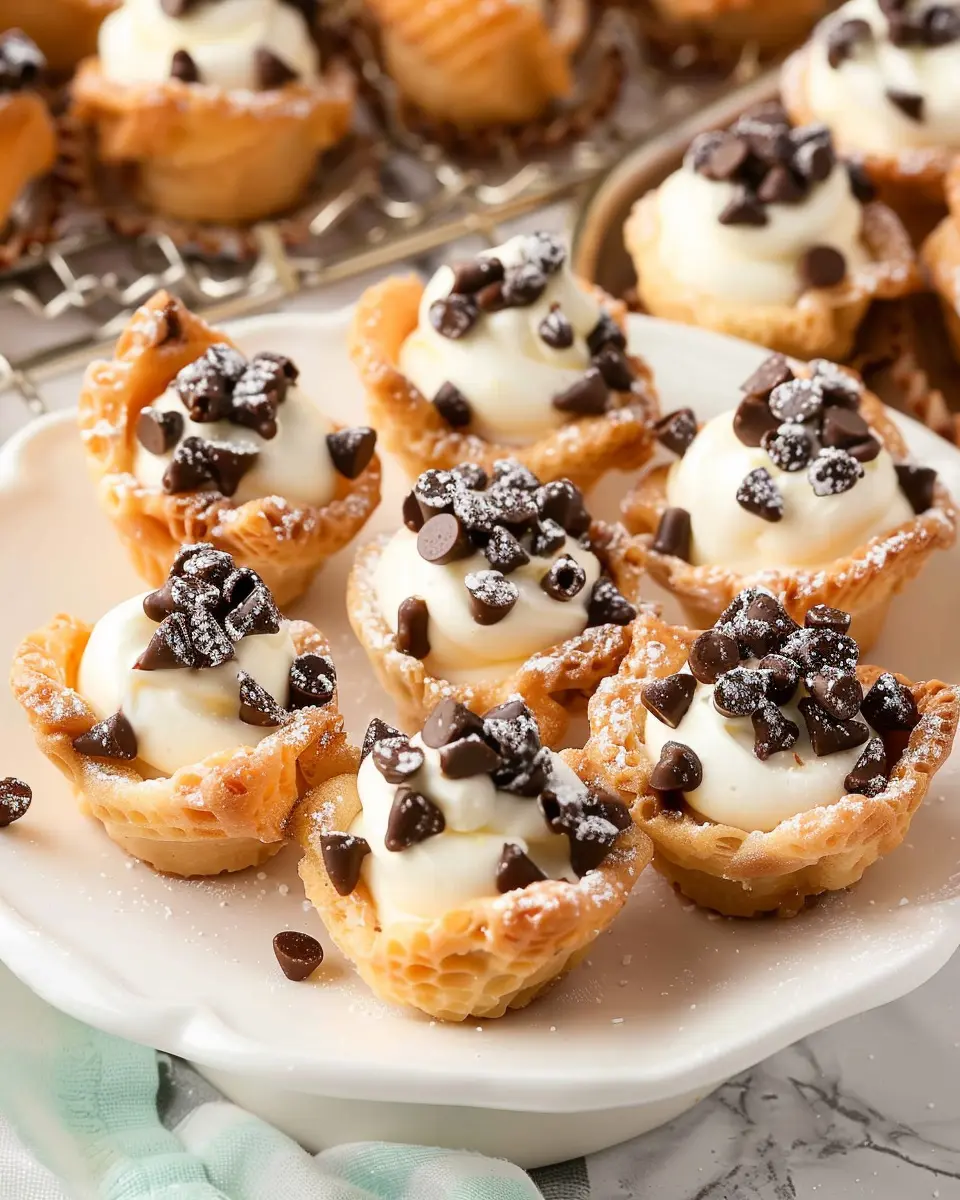
Arrange them beautifully on a platter, and watch as your guests’ eyes light up! These make for an appealing dessert that’s both fun to eat and delightful to look at.
Whether you whip these up for a party or a cozy night in, making mini cannoli cups is a rewarding experience. Gather your friends, serve with a steaming cup of coffee or a refreshing herbal tea, and enjoy this sweet treat!
For more dessert ideas, consider checking out Food Network or King Arthur Baking for additional inspiration. Happy baking!
Variations on Mini Cannoli Cups
Mini cannoli cups are a delightful dessert that can be tailored to suit various tastes and preferences. If you’re looking to switch things up or cater to different dietary needs, here are some scrumptiously fun variations to try.
Chocolate-Filled Mini Cannoli Cups
For chocolate lovers, why not elevate your mini cannoli cups with a silky chocolate filling? Start by incorporating cocoa powder into the ricotta mixture, or for an indulgent twist, blend in melted dark chocolate. You can also fill the shells with chocolate ganache for an extra rich experience. Don’t forget to top them with mini chocolate chips or a drizzle of chocolate sauce to finish! This adaptation definitely tantalizes the taste buds, making it a crowd-pleaser at any gathering.
Fruit-Flavored Mini Cannoli Cups
If you’re in the mood for something fruity, consider creating fruit-flavored mini cannoli cups. Replace part of the ricotta with fruit purees like raspberry, peach, or even lemon zest for a tangy twist. Complement your filling with fresh fruit chunks or candied peel, and garnish with a sprinkle of powdered sugar. These refreshing flavors not only brighten up your dessert table but also provide a delightful contrast to the creamy filling.
Dairy-Free Mini Cannoli Cups
For those who are dairy-sensitive, crafting dairy-free mini cannoli cups is totally possible! Use a combination of coconut cream and dairy-free cream cheese as your filling base. Sweeten it with maple syrup or agave for a delicious taste that everyone can enjoy. Top these cups with toasted nuts or a sprinkle of cinnamon for an added crunch. This option ensures that your dessert can be enjoyed by diverse dietary needs without compromising on flavor.
No matter which variation you choose, these mini cannoli cups are sure to please! Consider exploring more about the versatility of cannoli, and let your creativity shine in the kitchen.
Cooking Tips and Notes for Mini Cannoli Cups
Tips for Straining Ricotta for the Best Texture
To achieve the creamy yet thick consistency essential for your mini cannoli cups, straining the ricotta is a must. Here’s how to do it effectively:
- Choose High-Quality Ricotta: Always go for whole-milk ricotta for richer flavor.
- Set Up Your Strainer: Place a fine-mesh strainer over a bowl and line it with cheesecloth.
- Let It Drain: Pour the ricotta into the strainer, cover, and let it sit in the refrigerator for at least an hour. This step reduces excess moisture and transforms the ricotta into a more luscious filling.
For an even silkier texture, you can blend the ricotta after straining!
Storing Leftover Components Separately
When making mini cannoli cups, it’s wise to store leftover components separately. This keeps everything fresh and prevents sogginess.
- Filling: Transfer any leftover cream filling to an airtight container and refrigerate. It should stay good for about 3 days.
- Shells: Store any extra pastry shells in a cool, dry place, ideally in a separate container so they maintain their crispiness.
Preventing moisture from affecting your delicious creations ensures that every bite remains delightful. Want to learn more about pastry techniques? Check out this pâtisserie guide for additional tips!
Happy cooking!
Serving Suggestions for Mini Cannoli Cups
Perfect Occasions for Serving Mini Cannoli Cups
Mini cannoli cups are a delightful treat perfect for a variety of gatherings. Whether you’re hosting a cozy dinner party, celebrating a birthday, or simply looking to impress friends during a casual get-together, these little confections steal the show. They’re easy to make in batches, so you won’t find yourself slaving away in the kitchen. Plus, their bite-sized nature allows guests to indulge without guilt.
Pairing Ideas with Beverages or Other Desserts
To elevate your mini cannoli cups, consider pairing them with a rich, smooth coffee or a refreshing herbal tea. Think about a luscious vanilla or hazelnut coffee, which perfectly complements the sweet ricotta filling. For those who prefer desserts, how about serving them alongside a light fruit salad or sorbet? This balance not only enhances the flavors but also adds a vibrant touch to your dessert table.
For more presentation ideas and inspiration, check out the National Dessert Association, where you’ll find insights on how to wow your guests with stylish displays!
Let’s make your next gathering memorable with these delicious treats!
Time Breakdown for Mini Cannoli Cups
Preparation Time
Getting started on your mini cannoli cups requires just about 20 minutes. This includes gathering your ingredients and prepping the filling. Trust me, the kitchen will be a whirlwind of deliciousness!
Cooking Time
Baking the shells takes around 15 minutes. Keep an eye on them; you want that perfect golden-brown color for the crispy texture that complements the creamy filling.
Total Time
In total, you’re looking at around 35 minutes from start to finish. Perfect for a quick treat or to impress guests at your next gathering! Before you dive in, be sure to read through the full recipe to ensure all your ducks are in a row. For tips on mastering pastry, check out this insightful guide on baking techniques.
Nutritional Facts for Mini Cannoli Cups
When you indulge in our delightful mini cannoli cups, knowing what you’re savoring adds to the enjoyment. Here’s a quick rundown of their nutritional profile:
Calories per cup
Each mini cannoli cup contains approximately 150 calories. It’s that perfect little treat to satisfy your sweet tooth without going overboard!
Carbohydrates
Expect around 20 grams of carbohydrates per cup. This includes natural sugars from the filling and any sweet crust you choose to use. They offer just the right balance to keep your energy up.
Protein content
These scrumptious bites provide about 3 grams of protein each. Pairing them with a source of protein elsewhere in your meal makes for a well-rounded dessert experience.
If you’re looking for a delightful way to treat yourself without the guilt, mini cannoli cups may just be your new favorite! For more nutritional insights, check out the USDA’s FoodData Central, which can deepen your understanding of various food nutrients.
FAQs about Mini Cannoli Cups
Can I make these mini cannoli cups ahead of time?
Absolutely! Preparing mini cannoli cups in advance is not only possible but can also be a real time-saver. You can whip up the filling a day ahead, which will allow the flavors to meld beautifully. Just store it in an airtight container in the fridge. However, it’s best to fill the mini cannoli cups just before serving. This way, they stay crisp and delightful. If you’re hosting a gathering, consider a little assembly line action – guests often love the interactive experience!
What can I use instead of ricotta cheese?
If you’re looking to substitute ricotta cheese in your mini cannoli cups, there are several delicious alternatives. Mascarpone cheese offers a creamy texture and sweet flavor that pairs perfectly with typical cannoli fillings. For a lighter option, Greek yogurt can provide a tangy twist while adding protein. Some people even enjoy using a combination of cream cheese and Greek yogurt for a rich yet balanced flavor. Just remember to adjust the sweetness accordingly, especially if you’re going for the more tangy alternatives.
How do I prevent the cannoli cups from getting soggy?
Preventing sogginess is key to maintaining the perfect texture of your mini cannoli cups. Here are some helpful tips:
- Fill just before serving: As mentioned earlier, filling them right before enjoying ensures they retain their crunch.
- Use sturdy shells: Opt for mini pastry shells that are thick enough to hold up against moisture.
- Chill the filling: Keeping your filling chilled until it’s time to use helps minimize moisture transfer to the shells.
For additional tips on keeping desserts fresh, check out this guide on dessert storage. Happy baking!
Conclusion on Mini Cannoli Cups
Creating mini cannoli cups at home is not just a delightful culinary experience but also a fantastic treat for young professionals balancing work and life. These bite-sized desserts are versatile, easy to prepare, and can be customized to fit personal tastes, making them perfect for potlucks or casual get-togethers.
Imagine whipping up these sweet delights after a busy week—they’re simply satisfying and allow you to showcase your culinary skills without the heavy lifting. Plus, they can be made ahead of time, giving you more chances to mingle at your next gathering. Ready to impress your friends? Dive into the world of mini cannoli cups and enjoy the compliments! For more inspiration, check out this dessert guide for a variety of other sweet treats.
PrintMini Cannoli Cups: Easy Indulgence for Your Next Dessert Party

Mini Cannoli Cups are the perfect bite-sized dessert for any celebration, combining crispy shells with creamy filling.
- Prep Time: 15 minutes
- Cook Time: 0 minutes
- Total Time: 45 minutes
- Yield: 12 servings 1x
- Category: Desserts
- Method: No-bake
- Cuisine: Italian
- Diet: Vegetarian
Ingredients
- 1 cup ricotta cheese
- 1/2 cup powdered sugar
- 1 teaspoon vanilla extract
- 1/4 cup mini chocolate chips
- 12 pre-made phyllo cups
Instructions
- In a bowl, combine ricotta cheese, powdered sugar, and vanilla extract until smooth.
- Fold in mini chocolate chips.
- Spoon the mixture into phyllo cups.
- Chill for 30 minutes before serving.
Notes
- For added flavor, consider adding orange zest to the filling.
- Serve immediately for the best texture.
Nutrition
- Serving Size: 1 cup
- Calories: 120
- Sugar: 10g
- Sodium: 50mg
- Fat: 5g
- Saturated Fat: 2g
- Unsaturated Fat: 3g
- Trans Fat: 0g
- Carbohydrates: 15g
- Fiber: 1g
- Protein: 3g
- Cholesterol: 15mg
Keywords: Mini Cannoli Cups, dessert, easy recipes