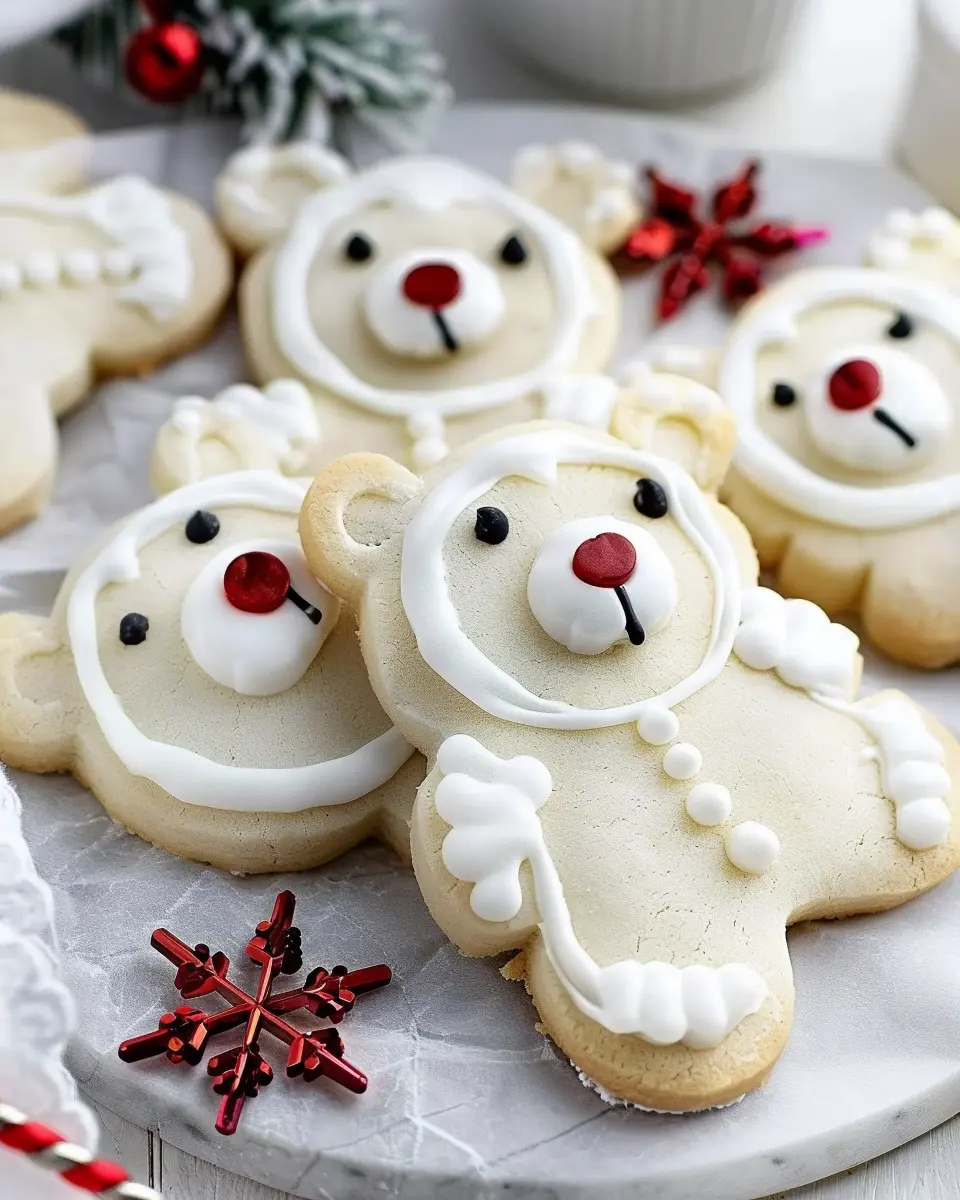
Introduction to Polar Bear Cookies
Polar Bear Cookies are not just adorable treats; they are the perfect companion for busy young professionals like yourself. Picture this: after a hectic workday filled with deadlines and meetings, you come home to a warm, inviting kitchen where the smell of freshly baked cookies awaits you. These delightful cookies, reminiscent of soft, fluffy polar bears, bring a bit of whimsy and joy to your evening. They are not only charming but also simple to make, making them an excellent way to unwind after a long day.
Why Polar Bear Cookies Are Perfect for Young Professionals
As a young professional, you might find yourself torn between a hectic work schedule and the desire to enjoy homemade goodies. This is where Polar Bear Cookies shine! They are quick to whip up, requiring minimal ingredients and effort. You can easily bake a batch in under an hour, allowing you to indulge in a sweet treat after dinner or share them with colleagues at the next office gathering.
Benefits of Polar Bear Cookies:
- Easy to Make: With straightforward steps, you’ll be able to bake these cookies even on your busiest days.
- Sharing is Caring: These cookies are perfect for potlucks and office parties, helping you build camaraderie with your coworkers.
- Customizable: You can experiment with flavors — think about adding a pinch of cinnamon or drizzling white chocolate for an extra touch!
For those who love to explore, this recipe allows for creativity. You can decorate with edible glitter or customize an icing recipe to match the season or occasion. Plus, sharing the joy of baking with friends can create memorable moments that help combat workplace stress.
Need more inspiration for your baking adventures? Consider checking out sources like Food52 and The Kitchn for additional recipes and tips.
In essence, Polar Bear Cookies provide a delightful escape from the grind of everyday life while allowing you to express your creativity in the kitchen. So, roll up your sleeves and let’s create something sweet together!
Ingredients for Polar Bear Cookies
Essential Ingredients for the Cookies
To get started on your delightful Polar Bear Cookies, you will need a handful of essential ingredients that will create a soft and delicious base. Here’s what you’ll need:
- 2 ½ cups all-purpose flour
- 1 cup unsalted butter, softened
- 1 cup granulated sugar
- 1 egg
- 1 teaspoon vanilla extract
- 1 teaspoon baking powder
- A pinch of salt
These basic ingredients will come together to create a wonderfully soft dough that’s perfect for decorating!
Ingredients for the Buttercream Frosting
No Polar Bear Cookies are complete without a fluffy layer of icing! For the buttercream frosting, gather these essential components:
- 1 cup unsalted butter, softened
- 4 cups powdered sugar
- 2 tablespoons milk
- 1 teaspoon vanilla extract
This luscious frosting will not only enhance the flavor but also act as the canvas for your adorable bear features.
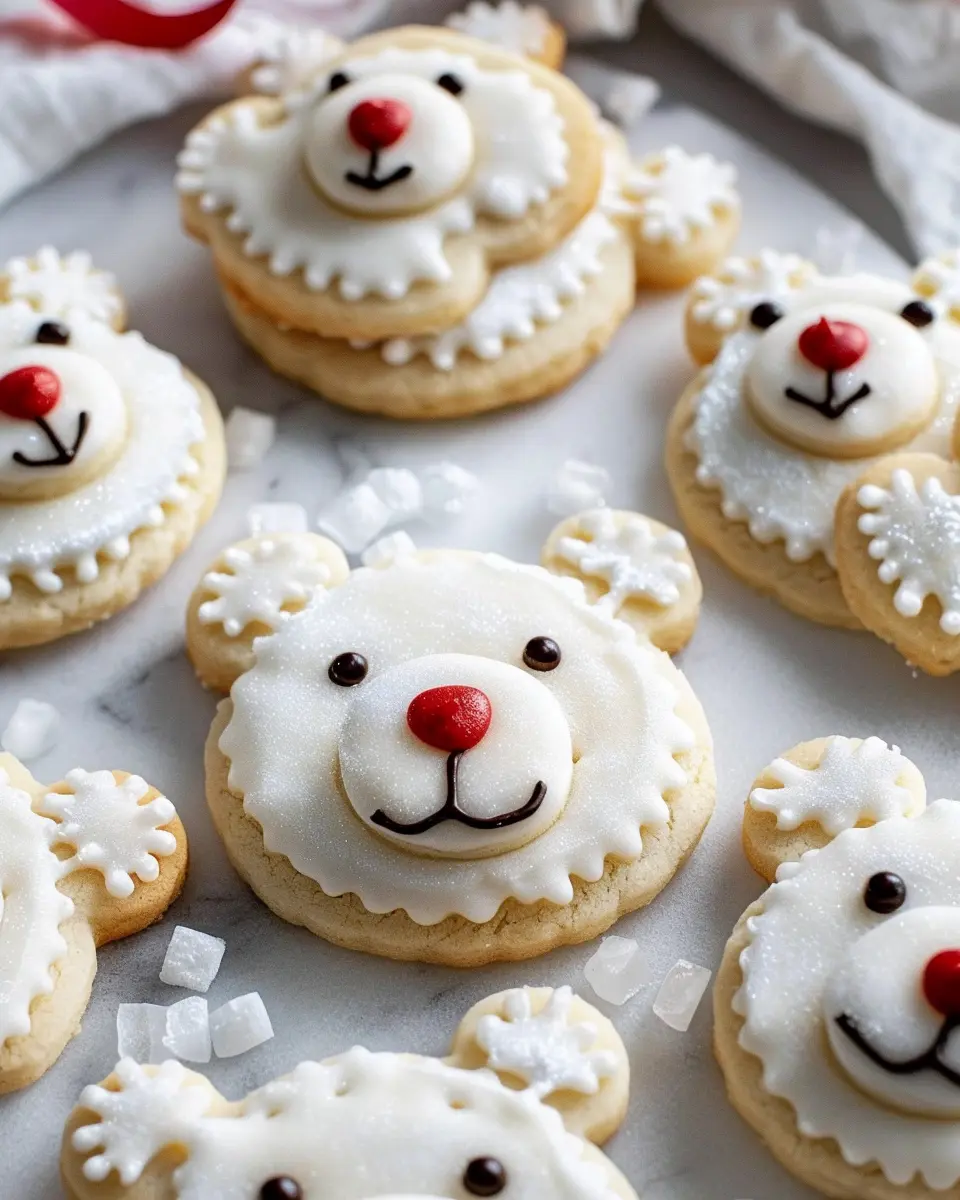
Fun Decorations to Bring Your Cookies to Life
Now comes the fun part—decorating! To truly bring your Polar Bear Cookies to life, stock up on these creative toppings:
- Mini chocolate chips for eyes
- Black icing or edible markers for noses
- Shredded coconut for fluffy fur
- Marshmallows for extra fun
Don’t you think it’s exciting to see how these small embellishments transform your creation? Get creative and let your personality shine through your cookie designs!
For additional decoration inspiration, take a look at this cookie decorating guide! Enjoy your baking adventure!
Preparing Polar Bear Cookies
Creating Polar Bear Cookies is not only a fun baking adventure but also a delightful way to make yummy treats that delight friends and family. These adorable cookies, shaped like cuddly polar bears, are perfect for any occasion, from winter holidays to themed parties. Ready to get started? Let’s dive into the process, step by step!
Creaming Together Butter, Cream Cheese, and Sugar
To kick off your cookie-making journey, you’ll want to start with the base ingredients. In a large mixing bowl, combine:
- ½ cup unsalted butter, softened
- ½ cup cream cheese, softened
- 1 cup granulated sugar
Using a hand mixer or a stand mixer, cream these ingredients together until the mixture is light and fluffy, which usually takes about 3 to 5 minutes. This step is crucial because it’s the foundation for a soft and tender cookie. The butter and cream cheese work their magic by ensuring your Polar Bear Cookies have that melt-in-your-mouth texture that everyone loves.
Mixing in the Wet Ingredients
Next, you’ll want to incorporate the wet ingredients. Add:
- 1 large egg
- 1 teaspoon vanilla extract
Mix everything together until fully combined. The eggs help bind the ingredients, while the vanilla adds a lovely flavor that truly enhances your cookies. Did you know that using high-quality vanilla can make a big difference? It’s worth exploring options like organic or real vanilla extracts.
Combining Dry and Wet Ingredients
In another bowl, whisk together your dry ingredients:
- 2 ½ cups all-purpose flour
- 1 teaspoon baking powder
- ¼ teaspoon salt
Gradually add this dry mixture to your wet ingredients, mixing on low speed to avoid flour clouds! Be careful not to over-mix; you just want the dough to come together. At this stage, some bakers like to add a dash of nutmeg or cinnamon for an extra flavor twist since baking is all about experimenting with what you enjoy.
Chilling the Dough
Once your dough is combined, it’s time to chill it. Shape the dough into a disc, wrap it in plastic wrap, and place it in the refrigerator for at least 1 hour. Chilling is critical because it makes the dough easier to handle and improves the final texture of your Polar Bear Cookies.
Cutting and Shaping the Cookies
After the dough has chilled, roll it out on a lightly floured surface to about ¼ inch thick. Use a bear-shaped cookie cutter or any shape that suits your theme. Don’t forget to re-roll any scraps; the dough should be just as delightful no matter the shape!
Baking Your Cookies to Perfection
Preheat your oven to 350°F (175°C) and line your baking sheets with parchment paper. Place your cut-out cookies about 2 inches apart on the sheets and bake them for 8 to 10 minutes. Keep an eye on them; they’re perfect when the edges start to turn golden. Allow the cookies to cool completely on a wire rack before frosting them.
Preparing the Buttercream Frosting
While your cookies are cooling, whip up some buttercream frosting for that irresistible finish. In a mixing bowl, combine:
- 1 cup unsalted butter, softened
- 4 cups powdered sugar
- 2 tablespoons milk
- 1 teaspoon vanilla extract
Beat until smooth and creamy, adjusting the milk as needed for your desired consistency. A clean, smooth frosting will complement your adorable Polar Bear Cookies beautifully.
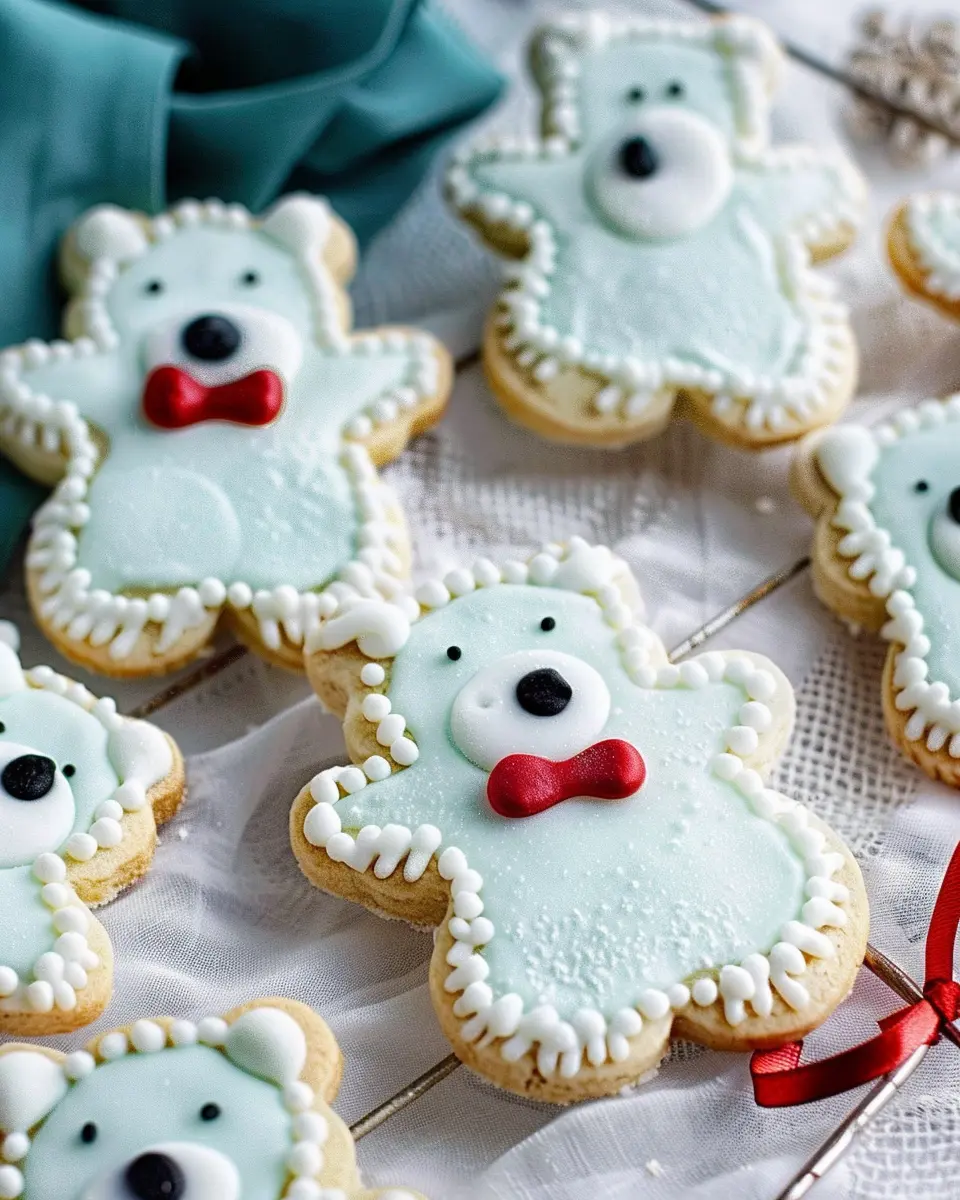
Decorating Your Polar Bear Cookies
Now comes the fun part—decorating your cookies! Use the buttercream frosting to apply a base coat and let it set for a moment. Then, get creative! You can use chocolate chips for eyes and noses, and a bit of black icing or edible markers can help you add those charming little details.
As you can see, creating Polar Bear Cookies is a delightful activity that combines creativity with baking. It’s perfect for a relaxing weekend or a fun group project with friends. Enjoy the process and don’t forget to share your adorable creations with loved ones! For more baking inspiration, check out King Arthur Baking for tips and tricks. Happy baking!

Variations on Polar Bear Cookies
Alternative Decorations for Different Occasions
One of the best things about Polar Bear Cookies is their versatility when it comes to decorations. You can elevate these delightful treats for any occasion, whether it’s a festive holiday gathering or a child’s birthday party.
- Holiday Cheer: Use red and green sprinkles or drizzle white chocolate to create a winter wonderland effect. Add small candy canes or edible glitter for a festive touch.
- Birthday Fun: Brighten them up with vibrant icing and themed sprinkles. For a special touch, you can customize them to match the birthday child’s favorite colors or interests.
- Seasonal Themes: Make them seasonal by incorporating edible flowers in spring, or perhaps a drizzle of dark chocolate for a fall flavor twist.
Customization not only makes your Polar Bear Cookies fun and unique but also sparks creativity that might surprise your guests!
Gluten-Free or Vegan Polar Bear Cookies
If you’re hosting friends with dietary restrictions, don’t worry! Transforming your Polar Bear Cookies into gluten-free or vegan versions is easier than you might think.
- Gluten-Free Option: Swap out traditional flour for a 1:1 gluten-free flour blend. Make sure all your chocolate and sprinkles are gluten-free as well.
- Vegan Version: Replace butter with a vegan alternative and use a flaxseed meal or applesauce instead of eggs. Many brands now offer vegan chocolate chips that are perfect for melting and decorating.
By catering to different dietary needs, you can ensure that everyone enjoys these adorable cookies, making your gathering even more inclusive and memorable. Plus, it’s a fun way to experiment with new ingredients and flavors. For more tips on baking for dietary restrictions, consider checking out The Vegetarian Resource Group or Gluten-Free Living.
Happy baking!
Tips and Notes for Making Polar Bear Cookies
Key Baking Tips for Soft and Chewy Cookies
Achieving the perfect texture for your Polar Bear Cookies begins with the right ingredients and techniques. Here are some friendly tips to help:
- Use Fresh Ingredients: Ensure your baking soda, baking powder, and flour are fresh for optimal rise and softness.
- Don’t Overmix: When combining wet and dry ingredients, mix just until incorporated. Overmixing can lead to tougher cookies.
- Chill the Dough: Refrigerate your cookie dough for at least 30 minutes. This step allows the flavors to meld and keeps the cookies from spreading too much in the oven.
For more in-depth baking advice, Serious Eats offers a wonderful resource on the science of cookies here.
Common Mistakes to Avoid
Even experienced bakers can run into a few hiccups while baking. Here’s what to watch out for:
- Skipping the Chilling Step: It may be tempting to skip chilling the dough, but it’s crucial for shaping and flavor.
- Incorrect Oven Temperature: Always preheat your oven. Using an oven thermometer is a great way to ensure accuracy, as many home ovens can be off by quite a bit!
- Using the Wrong Flour: All-purpose flour works best, but incorporating a bit of cake flour can create fluffy cookies if you want to experiment.
By keeping these tips in mind, you’ll be well on your way to creating delightful Polar Bear Cookies that impress everyone who tries them!
Serving Suggestions for Polar Bear Cookies
Pairing Options for the Best Experience
When serving your delightful Polar Bear Cookies, consider accompanying them with hot beverages for a cozy touch. A rich cup of hot chocolate or a spiced chai tea complements the sweetness of the cookies beautifully, creating a perfect winter treat. If you prefer something lighter, a cranberry-infused sparkling water or herbal tea can balance the flavors nicely. Serve your cookies on a warming platter, allowing their delightful aroma to fill the air and entice your guests to indulge.
Festive Ways to Present Your Cookies
Presentation can elevate your Polar Bear Cookies from simple treats to festive showstoppers! Try arranging them on a snow-white cake stand surrounded by faux snow or fluffy cotton balls for a winter wonderland theme. You might also consider wrapping individual cookies in clear bags tied with colorful ribbons as charming gifts for friends or coworkers. For an extra touch, add little tags with the recipe or a sweet holiday message. Create and capture these moments to share on social media, making your baking experience memorable!
If you’re interested in more creative ideas on cookie presentations, check out The Cookie Book, which offers a treasure trove of tips for enthusiastic bakers like you!
Time Breakdown for Polar Bear Cookies
Preparation Time
Making Polar Bear Cookies is a breeze! You’ll need about 15 minutes to gather your ingredients, mix, and shape the dough. This is the perfect moment to blast your favorite holiday playlist—baking is always more fun with good music!
Baking Time
Once your cookies are prepped, they will bake for approximately 10-12 minutes. Keep an eye on them toward the end to ensure they achieve that golden-brown edge—just the way you want!
Total Time
All in all, you’re looking at around 30 minutes from start to finish. A quick and delightful treat that will impress friends and family alike! If you want to dive deeper into cookie decorating tips, check out resources like Serious Eats for more creative ideas!
Nutritional Information for Polar Bear Cookies
When you indulge in these delightful Polar Bear Cookies, keeping track of nutritional content can enhance your baking experience. Here’s a helpful breakdown to make you feel good about your sweet treat.
Calories
Each Polar Bear Cookie packs in around 150 calories. This makes it a great option for an occasional dessert without completely derailing your daily intake.
Fats
These charming cookies have about 8 grams of fats, primarily from butter and chocolate. While a bit indulgent, fats are vital for flavor and texture. Just remember, moderation is key!
Sugars
With approximately 10 grams of sugar per cookie, they’re sweet enough to satisfy your cravings without becoming overwhelming. Pair these cookies with a glass of cold milk or a fruity alternative, like iced tea, for a tasty combo.
For a deeper dive into the perks of enjoying baked goods responsibly, check out resources from the American Heart Association or the Harvard T.H. Chan School of Public Health. Enjoy your baking adventure!
FAQs about Polar Bear Cookies
What can I use instead of cream cheese?
If you’re looking to swap out cream cheese in your Polar Bear Cookies, there are several tasty alternatives. One popular option is ricotta cheese, which can offer a similar creamy texture without the strong flavor. Greek yogurt is another excellent substitute that adds protein and tanginess. Just make sure to choose plain yogurt to maintain the cookie’s intended taste. For a dairy-free option, try using a vegan cream cheese or a cashew-based spread.
How do I store my Polar Bear Cookies?
Proper storage is crucial for keeping your Polar Bear Cookies fresh and delicious. Once they’ve cooled completely, place them in an airtight container. You can store them at room temperature for up to a week. If you’re faced with a cookie surplus (lucky you!), a fridge will prolong their freshness for an additional week. Just be sure to let them come to room temperature before serving for the best flavor.
Can I freeze these cookies?
Absolutely! Freezing your Polar Bear Cookies is a fantastic way to preserve their delightful taste for future snacking. To freeze, wrap each cookie in plastic wrap or place them in a freezer-safe bag, ensuring to remove as much air as possible. They can last up to three months in the freezer. When you’re ready to enjoy, simply thaw them in the fridge overnight or let them sit at room temperature for a few hours. Your future self will thank you for this delicious decision!
For more information on cookie storage, you might find this article from the USDA helpful!
Conclusion on Polar Bear Cookies
Last Thoughts on Making and Enjoying Polar Bear Cookies
Creating Polar Bear Cookies can be a delightful experience, perfect for entertaining or making seasonal treats with loved ones. These charming cookies are not just a treat for the taste buds; they also serve as a fun activity that sparks creativity.
Once baked and decorated, share them with friends and family, or even pack them as festive gifts! If you’re looking for inspiration on how to vary this recipe, consider adding different flavors to the icing or experimenting with stuffing. To elevate your cookie experience, serve them alongside a warm cup of cocoa or your favorite herbal tea. What’s your favorite way to enjoy cookies? Explore more suggestions for your sweet adventures through baking blogs or culinary websites!
PrintPolar Bear Cookies: Easy, Irresistibly Cute Treats for Everyone
These cute Polar Bear Cookies are perfect for any occasion, combining fun and flavor that everyone will love!
- Prep Time: 15 minutes
- Cook Time: 12 minutes
- Total Time: 27 minutes
- Yield: 24 cookies 1x
- Category: Dessert
- Method: Baking
- Cuisine: American
- Diet: Vegetarian
Ingredients
- 2 cups all-purpose flour
- 1 cup unsalted butter, softened
- 1 cup granulated sugar
- 1 large egg
- 1 teaspoon vanilla extract
- ½ teaspoon baking powder
- ½ teaspoon salt
- 1 cup white chocolate chips
- ½ cup mini chocolate chips
Instructions
- Preheat the oven to 350°F (175°C).
- In a large bowl, cream together the butter and sugar until fluffy.
- Add the egg and vanilla extract, mixing until well blended.
- In another bowl, whisk together the flour, baking powder, and salt.
- Gradually add the dry ingredients to the wet ingredients, mixing until just combined.
- Fold in the white chocolate chips.
- Drop spoonfuls of dough onto a baking sheet lined with parchment paper.
- Bake for 10-12 minutes or until the edges are lightly golden.
- Let cool before decorating.
Notes
- For added cuteness, use mini chocolate chips for the eyes.
- Experiment with different flavor extracts for a unique twist!
Nutrition
- Serving Size: 1 cookie
- Calories: 150
- Sugar: 10g
- Sodium: 100mg
- Fat: 7g
- Saturated Fat: 4g
- Unsaturated Fat: 2g
- Trans Fat: 0g
- Carbohydrates: 20g
- Fiber: 1g
- Protein: 2g
- Cholesterol: 20mg
Keywords: Polar Bear Cookies, cute cookies, easy cookie recipe, holiday treats