Introduction to Stained Glass Cookies
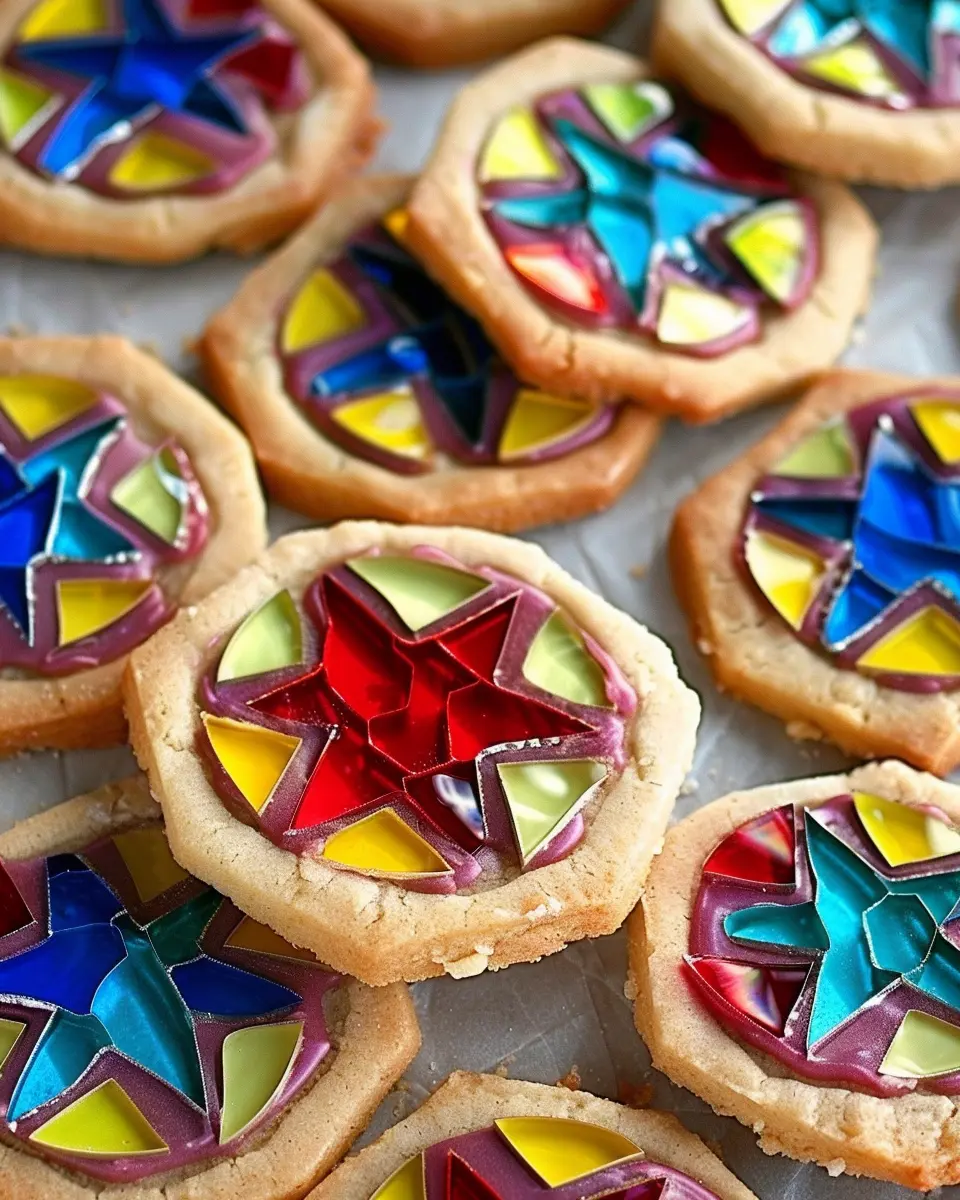
When it comes to delightful holiday treats, stained glass cookies are truly a standout. These whimsical cookies artfully combine the sweetness of sugar cookies with the radiant brilliance of colorful candy “glass” baked right into them. Their captivating appearance and delightful crunch have made them a favorite not just for special occasions but also for everyday baking adventures.
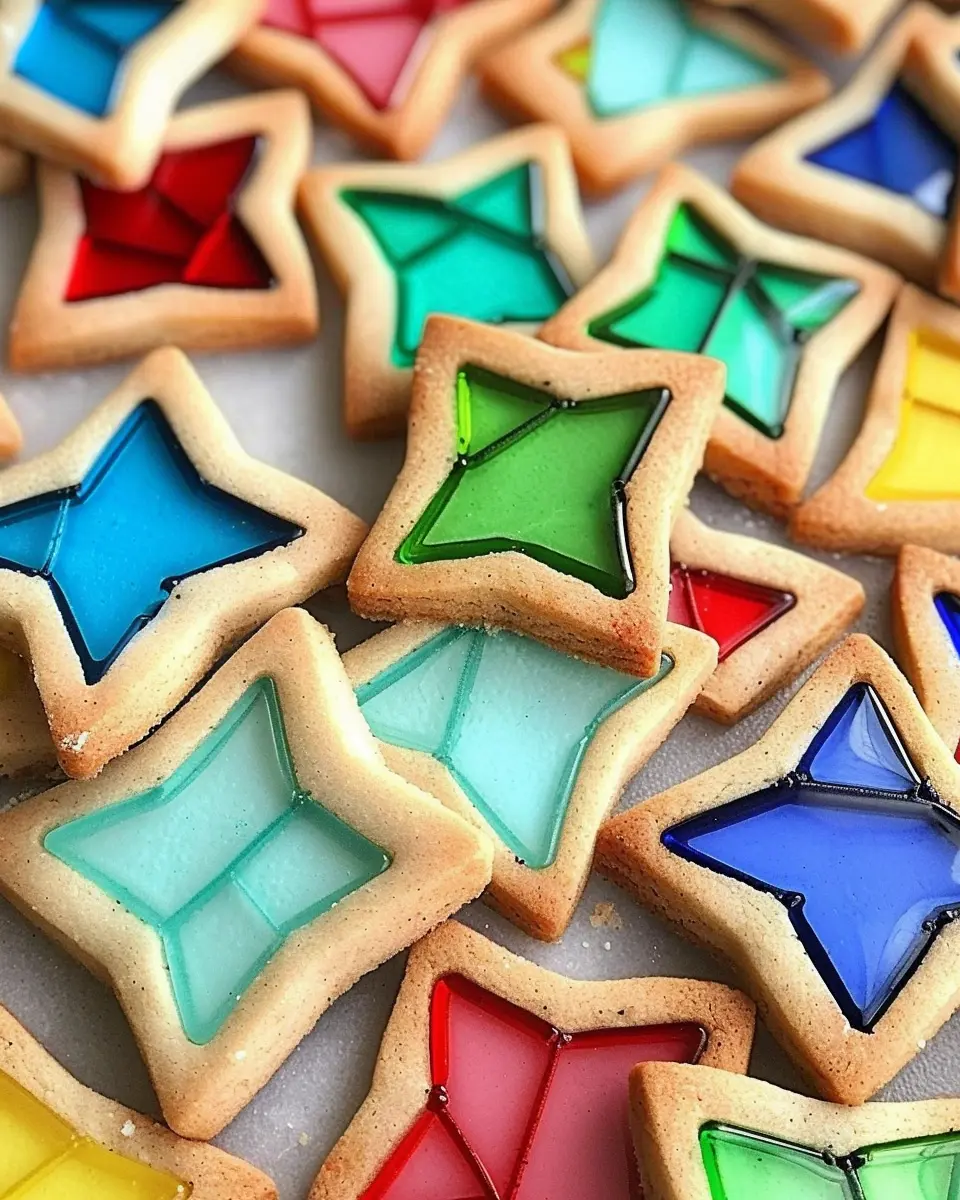
What are Stained Glass Cookies and why are they popular?
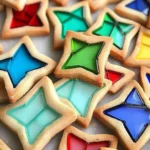
So, what exactly are stained glass cookies? Essentially, they are cookie cutouts – classic shapes like stars, hearts, and Christmas trees – filled with shards of hard candy that melt during baking to create a shiny, translucent center. The result? Beautiful cookies that resemble stained glass windows! The appeal lies not only in their stunning aesthetics but also in their delightful texture: crisp on the outside, with a chewy interior thanks to the melted candy.
These cookies are especially beloved around the holidays. According to a survey by the American Bakers Association, decorated cookies are among the top five favorite baked goods during festive seasons. Plus, the nostalgia associated with baking them often brings families together, creating cherished memories in the kitchen.
A fun side note: experimenting with different colors and shapes can make your stained glass cookies a creative outlet. Imagine creating a whole rainbow or even matching the colors to your holiday decor. Holidays like Christmas and Valentine’s Day can shine even brighter with these cookies on the dessert table.
If you’re curious about the best candies to use, traditional choices include Jolly Ranchers or Life Savers, which melt beautifully. You could even check out resources like Taste of Home for ideas on flavor combinations or festive decorations, enhancing your cookie-making experience.
In conclusion, stained glass cookies not only delight the eyes but also warm the heart. Their unique texture and vibrant colors make them irresistible, ensuring they remain a beloved treat for all ages. Ready to dive into the baking adventure? Let’s get started on the recipe!
Ingredients for Stained Glass Cookies
Essential Ingredients for the Cookie Dough
When it comes to creating delightful stained glass cookies, you’ll need a few essential ingredients to whip up the perfect dough. Here’s what you should gather:
- All-purpose flour: The foundation of your cookies, providing structure.
- Butter: Opt for unsalted to control the sweetness, ensuring rich flavor.
- Sugar: Granulated sugar will bring sweetness, while powdered sugar can aid in texture.
- Eggs: They bind everything together, giving your cookies a nice uplift.
- Vanilla extract: A splash adds warmth and depth to your cookie flavor.
- Baking powder: For that perfect rise, so your cookies are soft and tender.
Recommended Candy Options for the Glass Effect
Now, let’s talk about the star of the show—the stained glass effect! The right candy can make your cookies shine. Here are a few delightful suggestions:
- Hard candies: Use Jolly Ranchers or Werther’s Originals—the colors are vibrant and perfect for creating that glass look.
- Candy canes: If you’re in the holiday spirit, crushing these can add a minty twist.
- Fruit-flavored candies: Think Skittles or Starburst for a pop of color.
Feel free to explore more candy options that excite your creative visions! Adding colored sugar or edible glitter can lift your cookies to a whole new level of fun. Want to dive deeper? Check out this resource on color and candy to enhance your candy game.
You’ve got the essentials and the treats; now you’re on your way to crafting some unique stained glass cookies that will dazzle your friends and family!
Preparing Stained Glass Cookies
Making stained glass cookies is a delightful project that combines creativity with the joys of baking! The end result is not just tasty but visually stunning, making them a perfect treat for any occasion. Here’s a friendly guide to help you through each step of making these unique cookies.
Gather All Your Ingredients
To kick off this sweet adventure, you’ll want to gather your ingredients. Having everything ready will make the process much smoother. For stained glass cookies, you’ll need:
- 2 ¾ cups all-purpose flour
- 1 teaspoon baking powder
- ½ teaspoon salt
- 1 cup unsalted butter, softened
- 1 cup granulated sugar
- 1 egg
- 1 tablespoon vanilla extract
- Colorful hard candies (like Jolly Ranchers or Lifesavers) for the glass effect
Make sure your butter is at room temperature; it helps create a smooth dough. Also, mixing varieties of colorful candies not only enhances the visual appeal but adds a flavorful twist!
Make the Sugar Cookie Dough
Now it’s time to whip up the dough. Start by whisking together your flour, baking powder, and salt in a bowl. This helps to evenly distribute the leavening agents in your cookie mix. In another bowl, beat the softened butter and granulated sugar together until fluffy — about 2-3 minutes. This step is crucial for achieving that lovely, airy texture we adore in cookies!
Add the egg and vanilla extract, mixing until just combined. Gradually incorporate the flour mixture into the butter mixture until a dough forms. If you’re looking for tips on mastering the dough, check out this great resource from Better Homes and Gardens. Once done, wrap the dough in plastic wrap and let it chill in the fridge for at least one hour. Chilling the dough helps the cookies maintain their shape while baking!
Roll Out the Dough and Cut Shapes
After your dough is chilled, it’s rolling time! Dust a clean surface and your rolling pin with flour to prevent sticking. Roll out the dough to about ¼ inch thick. Use cookie cutters to create shapes; think hearts, stars, or traditional Christmas shapes—whatever tickles your fancy!
This is also where creativity can shine. If you have kids or friends joining, turning this into a cookie-decorating party can be a hit. Make sure to cut out holes in the center of each shape, as this will be where the “glass” effect will shine through.
Prepare the Candy for the Glass Effect
The next step is to prepare your candy. Unwrap the hard candies and place them in a resealable plastic bag. Using a rolling pin, carefully crush them into small pieces. The pieces should resemble coarse sand; you want some texture without going to a fine powder.
Feel free to mix candy colors for a vibrant, stained glass look!
Assemble and Bake the Cookies
Now comes the fun part! Preheat your oven to 350°F (175°C). Place your cookie shapes on a lined baking sheet, and fill each hole with the crushed candy pieces. Be careful not to overfill; the candy will melt and spread.
Bake your cookies for about 8-10 minutes or until the edges are lightly golden. When they come out of the oven, the candy will still be bubbly, but it hardens as it cools, creating that beautiful stained glass effect.
Once they are cool, these cookies can be decorated with icing or left plain to showcase their colorful centers. Perfect for holidays or simply as a fun treat!
With these steps, you’re all set to impress your friends and family with your stunning stained glass cookies. Happy baking!
Variations on Stained Glass Cookies
Stained glass cookies are not just delicious—they’re a canvas for your creativity! Let’s dive into some fun variations to make these treats even more special.
Unique Color Combinations with Candies
The beauty of stained glass cookies lies in their vibrant colors. Instead of sticking to traditional red and green, why not experiment with unique color combinations?
- Pastels for Spring: Use pastel candies like light pinks, blues, and yellows for a soft, floral look.
- Fall Vibes: Try using candy corns, deep oranges, and browns to capture the essence of autumn.
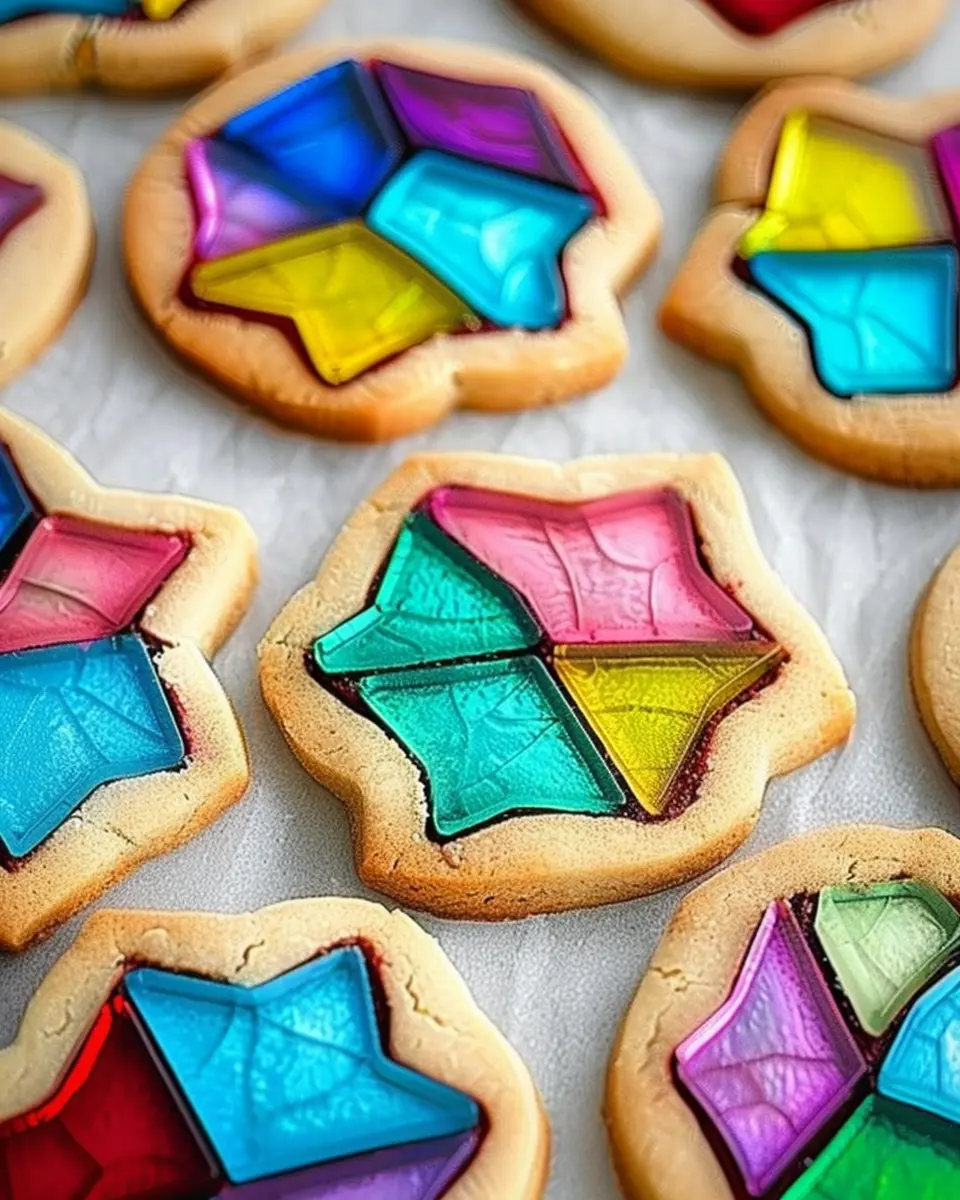
- Rainbow Medley: Mix candies of various colors for an eye-catching treat that will delight people of all ages.
If you’re looking for inspiration, check out resources like Food Network for even more tips on candy choices!
Themed Shapes for Different Occasions
Shape matters just as much as color when it comes to your stained glass cookies. Tailoring your cookies to fit specific themes or holidays can add an extra layer of excitement.
- Christmas Cheer: Think Christmas trees, stars, and ornaments.
- Halloween Fun: Go for spooky shapes like bats, pumpkins, and ghosts.
- Birthday Celebrations: Consider cupcakes or balloons to make each celebration extra festive.
Why not get a little creative? You might even find that seasonal cookie cutters inspire your theme! Themed cookies often get rave reviews at parties, and they can make great gifts too!
So, whether you’re planning a holiday gathering or just want to brighten someone’s day, stained glass cookies are a delightful and artistic choice that’s sure to impress. Happy baking!
Baking notes for Stained Glass Cookies
Tips for rolling the dough
When it comes to making stained glass cookies, the dough can be a bit tricky to work with. Here are some tips that can help you roll it out perfectly:
- Chill the dough: Refrigerating the dough for about 30 minutes not only makes it easier to handle but also helps prevent excessive spreading during baking.
- Use parchment paper: Roll the dough between two sheets of parchment paper. This method prevents the dough from sticking and ensures a smooth surface.
- Flour lightly: If you’re dusting the surface with flour, go easy on it—too much flour can change the texture of your cookies.
How to prevent cookies from spreading
To keep your stained glass cookies from losing their shape, consider these simple strategies:
- Choose the right fat: Make sure to use unsalted butter, as it has a lower moisture content compared to margarine, which tends to make cookies spread.
- Chill before baking: After cutting the cookies, let them sit in the refrigerator for an additional 15 minutes before popping them into the oven.
- Use a silpat or heavy-duty baking sheet: Using these helps insulate against excessive heat, which can lead to unwanted spreading.
Baking cookies can be a joyous experience, especially when you see the vibrant colors of the stained glass. So, roll up those sleeves and dive into your cookie adventure! For more tips, check out resources on baking techniques at King Arthur Baking for more insights!

Serving suggestions for Stained Glass Cookies
How to display your cookies
Displaying your stained glass cookies can transform your kitchen into a visual feast. Consider placing them in a clear jar or a decorative cake stand; this not only protects them but also highlights their vibrant colors. Use a piece of parchment paper or a colorful napkin at the bottom to add an extra pop. If you’re hosting a gathering, arrange them on a festive platter surrounded by holiday decorations. Your guests will be drawn to their beautiful design, making them both an art piece and a delightful treat.
Creative ways to gift the cookies
Gifting your stained glass cookies is a memorable way to share homemade joy. Package a few in a clear cellophane bag tied with a ribbon for that classic touch. Alternatively, use decorative tins or boxes for a more personalized effect. Consider adding a handwritten note or cookie recipe card; people love a personal touch! For unique gifting, try coordinating your cookies with a fun beverage like herbal tea or coffee, which you can find great recommendations for on food blogs or specialty shops. Not only do the cookies look good, but they also taste wonderful alongside a warm drink.
Tips for Making Perfect Stained Glass Cookies
Storage Tips to Maintain Freshness
To keep your stunning stained glass cookies fresh and beautiful, proper storage is key. Start by allowing the cookies to cool completely before storing them. This prevents condensation and keeps them crisp. Here’s how to maintain their freshness:
- Airtight Containers: Use airtight containers to prevent moisture from ruining your cookies. Glass or plastic containers work well.
- Layer with Parchment: If stacking the cookies, place parchment paper between layers to avoid sticking and scratching the beautiful glass-like centers.
- Room Temperature: Store them at room temperature rather than in the fridge, which could make them too soft.
For additional tips on cookie storage, you can check out this guide from The Kitchn.
Suggestions for Decorating Alternatives
While the classic stained glass cookies look fabulous as they are, you can get creative with their decoration! Instead of just using the colorful candies, consider these alternatives:
- Icing Accents: Use royal icing to create intricate designs on top. This adds another dimension and flavor to your cookies.
- Edible Glitter: A sprinkle of edible glitter can make your cookies pop, especially for festive occasions.
- Theme Shapes: Cut your cookies into shapes that correspond with holidays or events, such as stars for Christmas or hearts for Valentine’s Day.
Remember, the only limit is your imagination! You can find some fantastic decorating ideas from sources like Food Network.
So, gather your ingredients and get creative with your stained glass cookies. Happy baking!
Time Details for Stained Glass Cookies
Preparation Time
Making stained glass cookies is a delightful experience that takes about 30 minutes. This includes gathering your ingredients, mixing the dough, and cutting out the shapes. It’s the perfect way to unwind after a busy day. Plus, you can enjoy the lovely aroma of vanilla as you work!
Baking Time
These colorful treats will bake for approximately 8-10 minutes in the oven. Keep a close eye on them, as you want the edges to be just golden. The center will soften, creating that signature window effect.
Total Time
In total, you’re looking at around 40 minutes from start to finish. This quick time investment gives you a batch of delicious stained glass cookies that are sure to impress friends or be an irresistible treat for yourself!
For more baking tips and cookie decorating ideas, check out resources like The Kitchn or BBC Good Food for inspiration!
Nutritional Information for Stained Glass Cookies
When it comes to indulging in delicious treats like stained glass cookies, it’s essential to keep an eye on nutritional content. Here’s a breakdown to help you enjoy them responsibly!
Calories
A typical serving of stained glass cookies contains around 150 calories. Considering they are a delightful confection, balancing your enjoyment of these cookies with healthy meals throughout the day is easy.
Sugar Content
These vibrant cookies typically have about 10 grams of sugar per serving. While they provide that sweet satisfaction, being mindful of sugar intake is crucial, especially if you’re watching your overall consumption.
Servings per Recipe
This stained glass cookies recipe generally yields about 24 servings. Perfect for sharing at gatherings or keeping a stash at home for whenever a sweet craving strikes.
For more information on healthy baking options, consider visiting Healthline. Enjoy your baking adventure!
FAQs about Stained Glass Cookies
Can I use different types of candy?
Absolutely! The beauty of stained glass cookies lies in their versatility. While traditional recipes often call for hard candy, feel free to experiment with various types. For a fruity twist, candies like Jolly Ranchers or Life Savers are fantastic choices. If you’re interested in a more colorful display, Skittles or M&M’s can work as well, although they won’t melt quite the same way. It’s all about finding the right balance between flavor and aesthetics. Just ensure whatever candy you use is hard enough to melt into that beautiful, glass-like appearance.
How do I store Stained Glass Cookies?
Storing stained glass cookies properly is key to maintaining their crunch and vibrant color. Place the cookies in an airtight container at room temperature, layering parchment paper between them to prevent sticking. They should keep well for about a week. If you want to extend their shelf life, consider freezing them. Just be careful not to stack them directly on top of each other, as this could lead to unwanted damage.
What can I do if my cookies spread too much?
Cookie spreading can be a common issue, but don’t worry—there are simple fixes! First, ensure your butter is at the correct temperature; too soft and it will lead to spreading. If the dough seems too warm or sticky, chill it in the fridge for 30 minutes before baking. Additionally, adding a bit more flour can help if your dough feels too wet. For more tips on achieving the perfect stained glass cookies, check out this baking guide.
Conclusion on Stained Glass Cookies
Homemade cookies are a delightful way to express creativity and bring joy into any gathering. Stained glass cookies combine the charm of traditional baking with a colorful twist that captivates everyone. Not only are they visually stunning, but they also provide a fun baking experience. Remember, the magic really happens when you watch those candies melt in the oven, transforming simple shapes into beautiful works of art.
So why not gather some friends, put on your favorite playlist, and get baking? Check out resources like Serious Eats or Bon Appétit for more inspiring cookie ideas. Happy baking!
PrintStained Glass Cookies: Easy Festive Treats to Brighten Your Day
Delight in these vibrant Stained Glass Cookies that are perfect for any festive occasion. Their colorful center and delicious cookie base will surely brighten your day!
- Prep Time: 15 minutes
- Cook Time: 10 minutes
- Total Time: 55 minutes
- Yield: 24 cookies 1x
- Category: Dessert
- Method: Baking
- Cuisine: American
- Diet: Vegetarian
Ingredients
- 2 ¾ cups all-purpose flour
- 1 teaspoon baking powder
- ½ teaspoon salt
- 1 cup unsalted butter, softened
- 1 cup granulated sugar
- 1 large egg
- 1 teaspoon vanilla extract
- 1 cup crushed hard candies (like Jolly Ranchers)
Instructions
- Preheat your oven to 350°F (175°C).
- In a bowl, whisk together flour, baking powder, and salt.
- In a separate bowl, cream the butter and sugar until light and fluffy.
- Add the egg and vanilla, mixing well.
- Gradually add the dry ingredients to the wet ingredients until combined.
- Chill the dough for at least 30 minutes.
- Roll out the dough and cut into desired shapes.
- Cut out centers and fill with crushed candies.
- Bake for 8-10 minutes or until edges are lightly golden.
- Allow to cool completely before serving.
Notes
- For vibrant colors, use various candy colors.
- Try adding almond extract for a different flavor profile.
Nutrition
- Serving Size: 1 cookie
- Calories: 150
- Sugar: 10g
- Sodium: 50mg
- Fat: 7g
- Saturated Fat: 4g
- Unsaturated Fat: 2g
- Trans Fat: 0g
- Carbohydrates: 20g
- Fiber: 0g
- Protein: 1g
- Cholesterol: 30mg
Keywords: Stained Glass Cookies, festive cookies, easy cookie recipes